How to use – Recoveryfix OST Recovery
Recoveryfix OST Recovery Tool - How it works?
Go through the following steps to perform the OSt to PST conversion after installing Recoveryfix OST to PST Converter software.
Step 1: Open and access the software on your system.
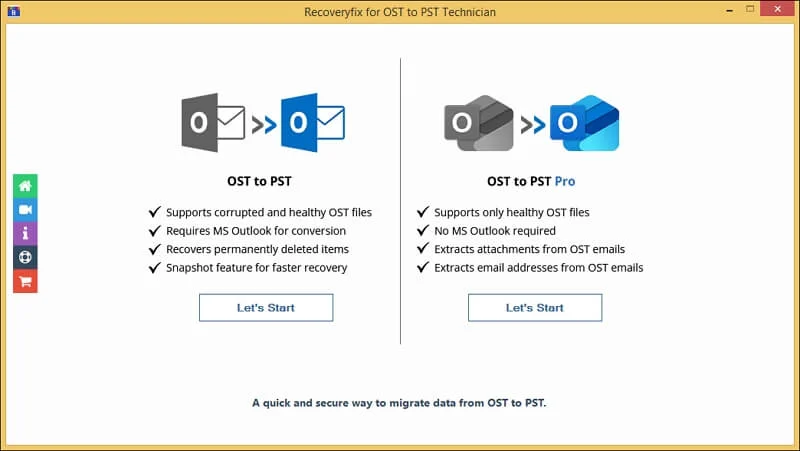
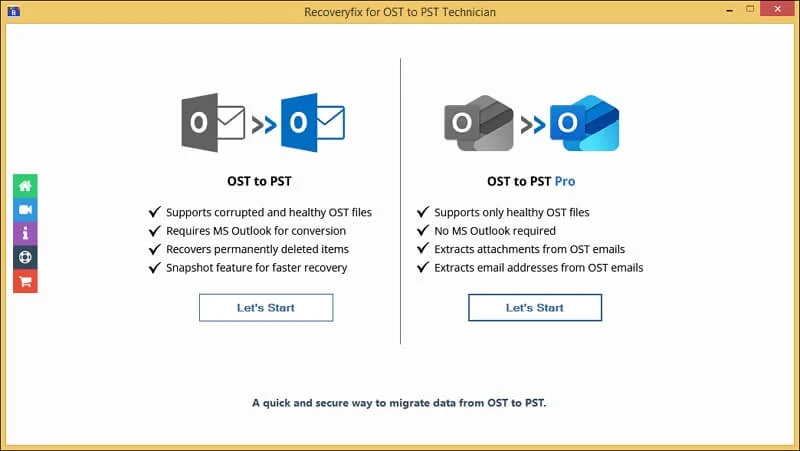
Step 2: On the home page, select the OST to PST tool from the two available options. Then, Let's Start.
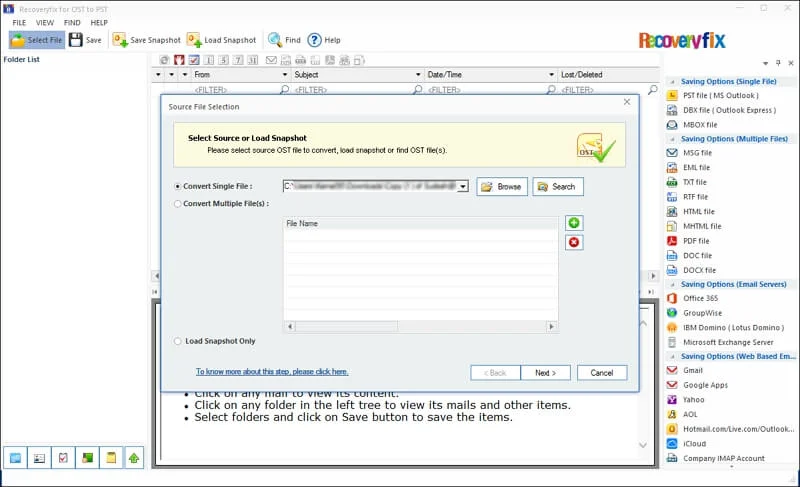
Step 3: Browse to Convert Single or Multiple File(s) and proceed to Next.
Note: Use the Load Snapshot Only feature to add the taken snapshot file to resume the conversion process instantly.
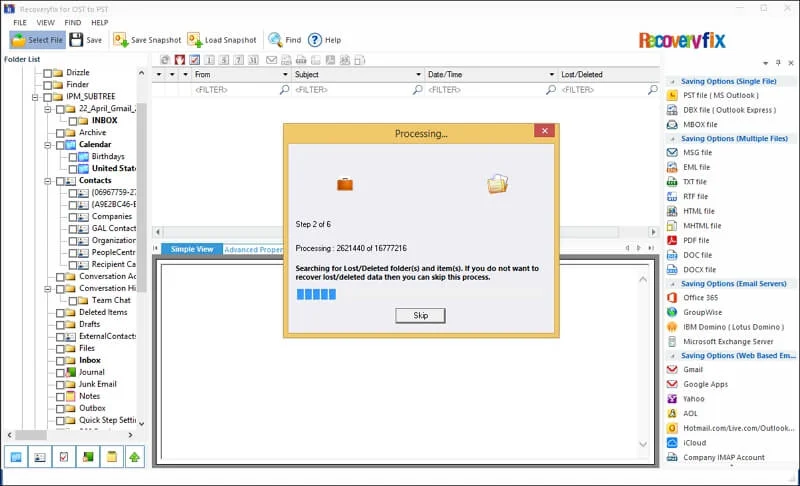
Step 4: Read the Process Information carefully to get the insights and click Finish.
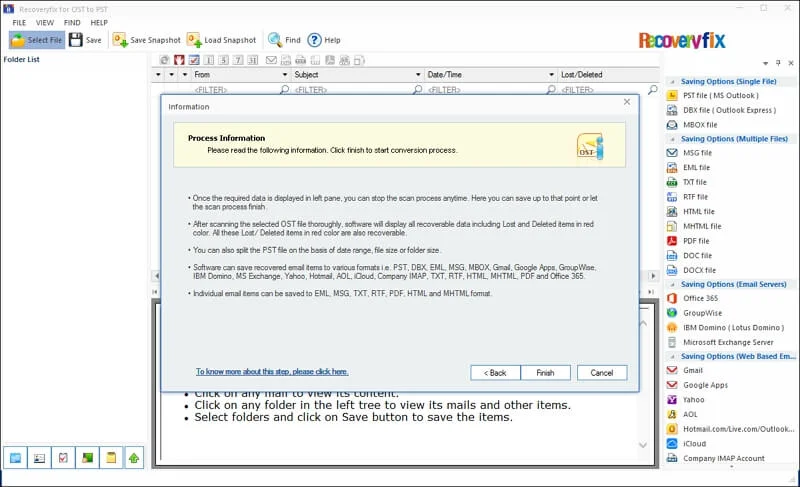
Step 5: The software will start loading the OST file content.
Step 6: Preview the mailbox items and select the necessary folders to Save.

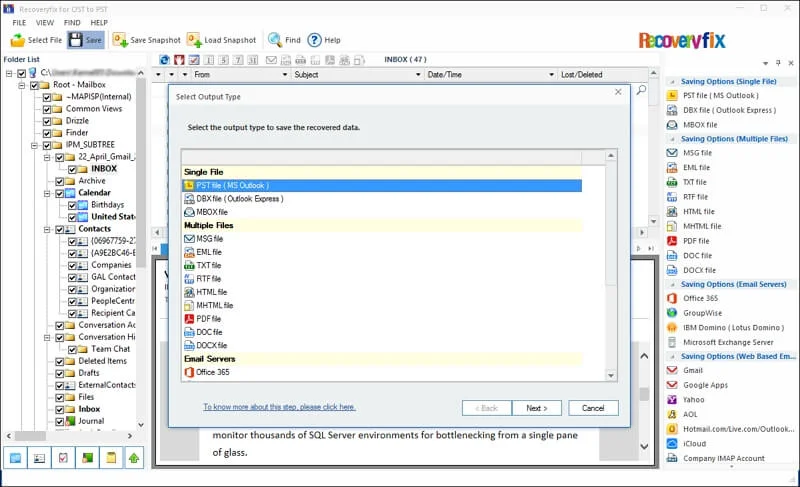
Step 7: Select the PST file (MS Outlook) as an output option. Then, click Next.
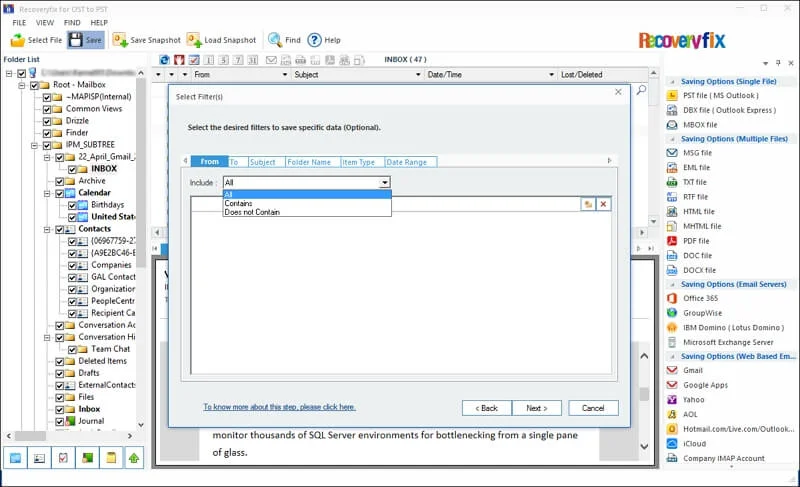
Step 8: Apply the necessary filters if needed:
- From
- To
- Subject
- Folder Name
- Item Type
- Date Range
Once done, click Next to proceed.
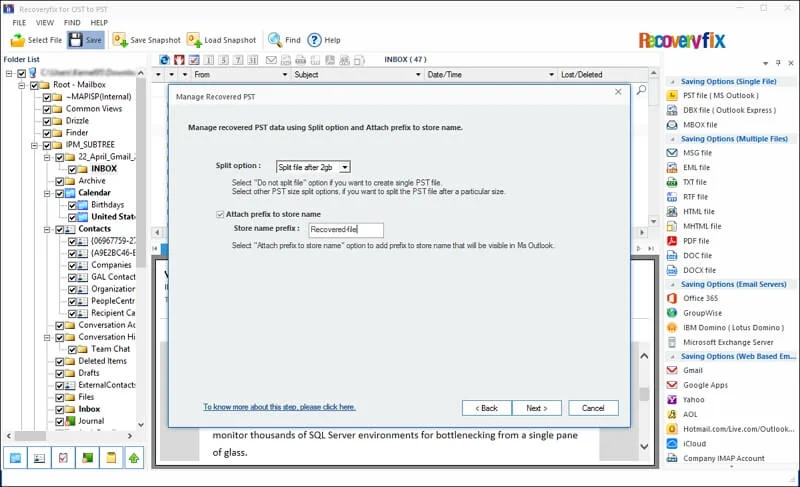
Step 9: In this step, do the following actions:
- Use the Split option to break down the resultant PST file.
- Attach prefix to store name for the resultant file for easy recognition.
Tap on Next to proceed further.
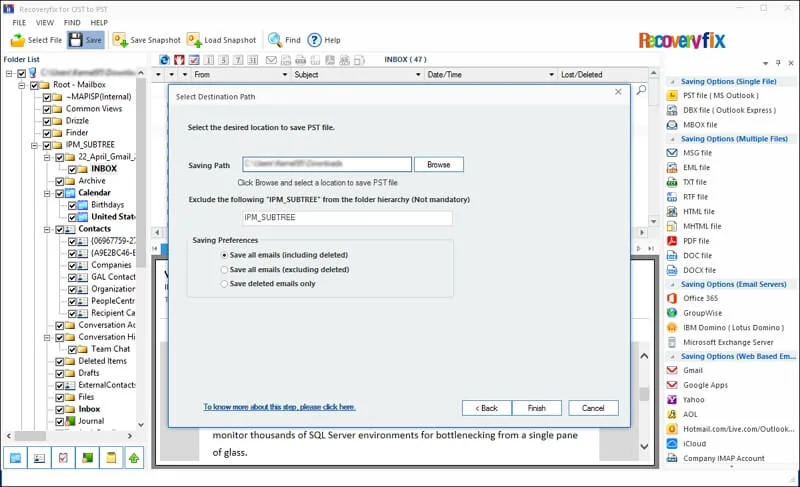
Step 10. Browse the Saving path and choose the appropriate Saving Preferences. Then, click Finish.
Note: Exclude the IPM_SUBTREE folder by entering the folder name (e.g., IMP_SUBTREE) if needed.
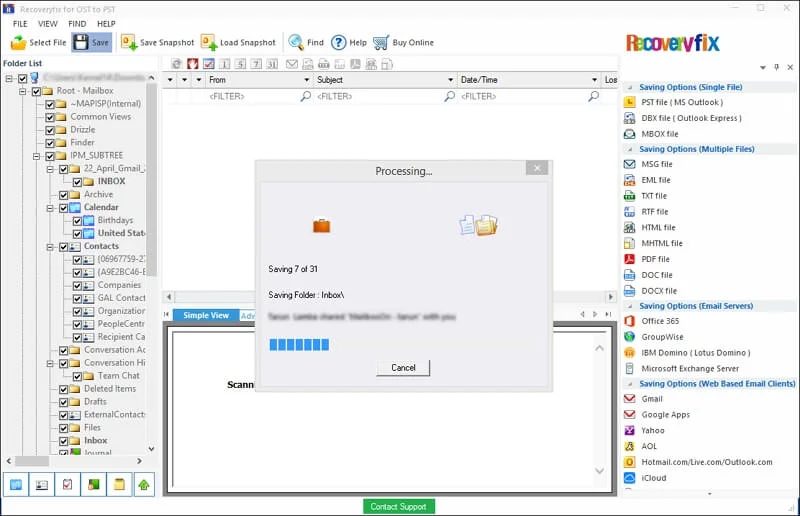
Step 11: It will start converting the OST file data.
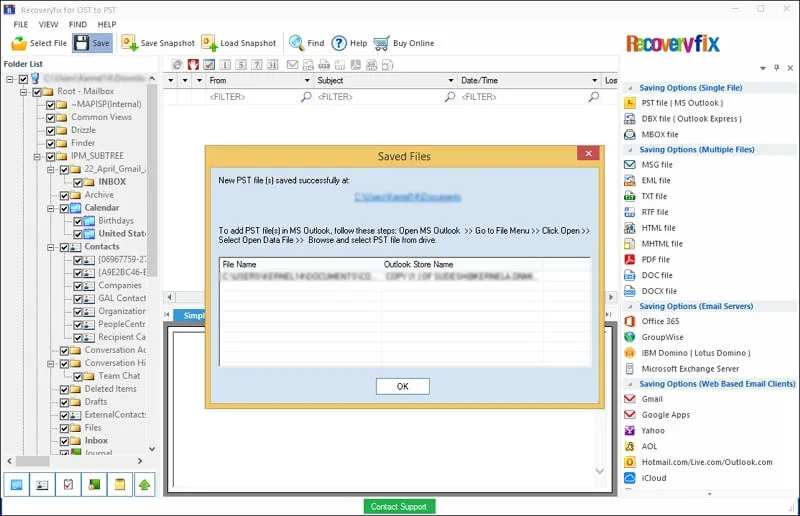
Step 12: A pop-up window will appear along with the file location after the conversion.
Step 13: Tap on the link to locate the saved file and click OK to end the process.
OST to PST Converter Pro
Follow the instructions to convert your OST files using OST to PST Converter Pro.
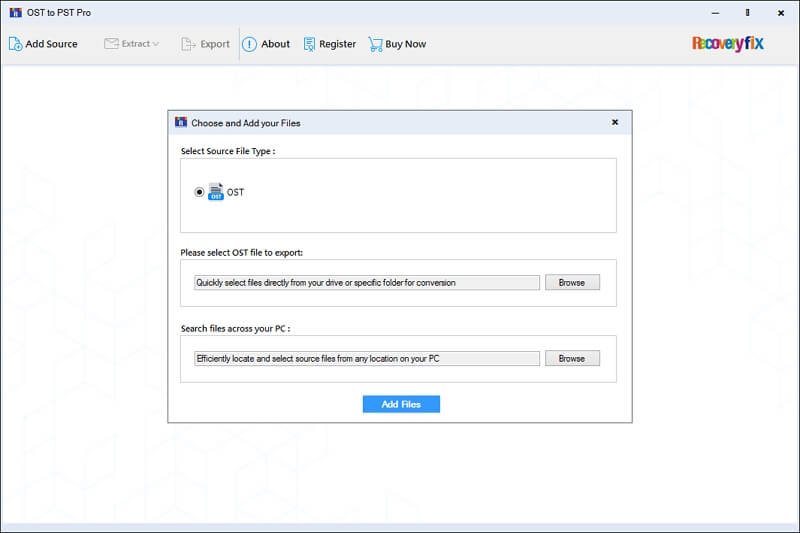
Step 1: Select the OST to PST Pro on the home screen of the software.
Step 2: Browse to Search files across your PC and click on Add Files.
Note: Use the Please select OST file to export option to Browse and choose specific files for conversion.
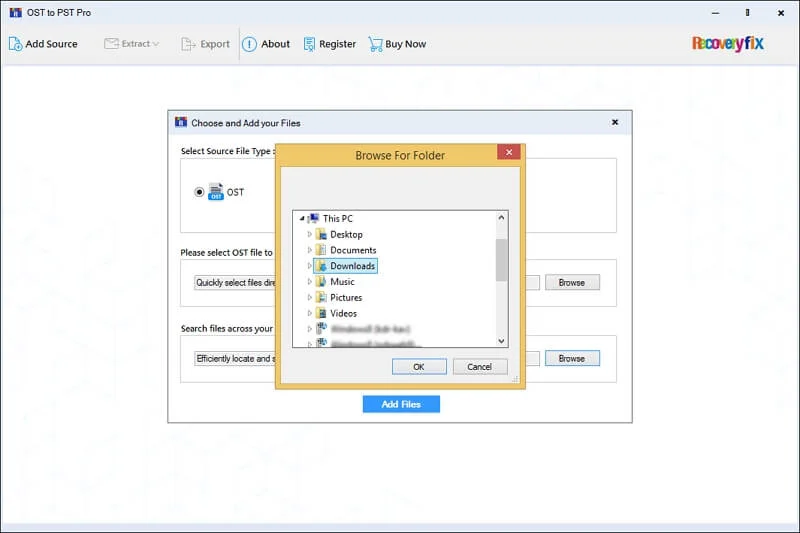
Step 3: Select the desired folder and click OK to proceed.
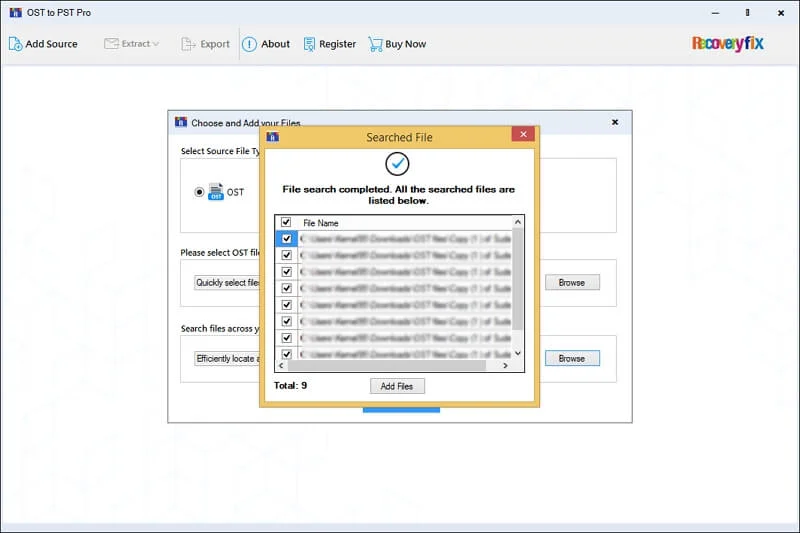
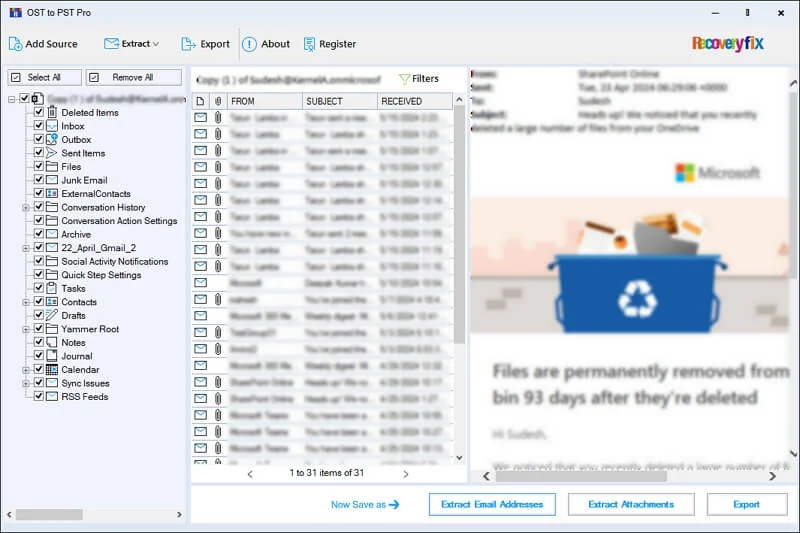
Step 4: It will list all the files on your screen. Then, check the required ones to Add Files.
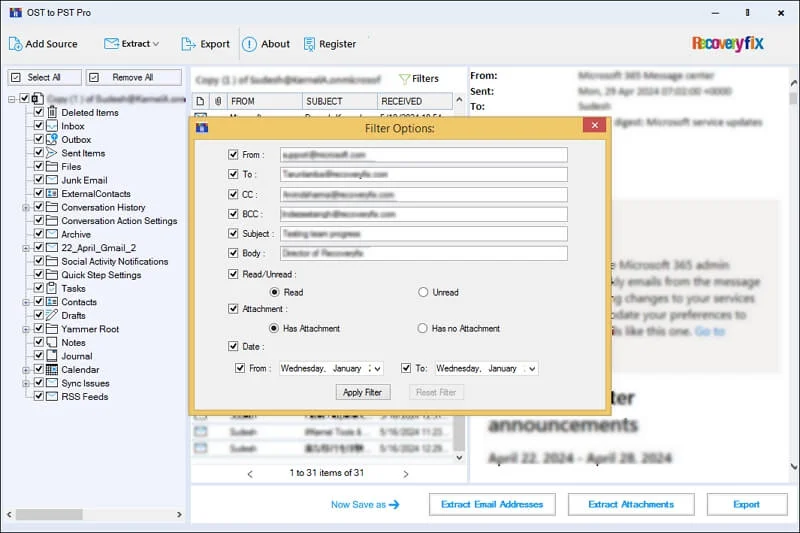
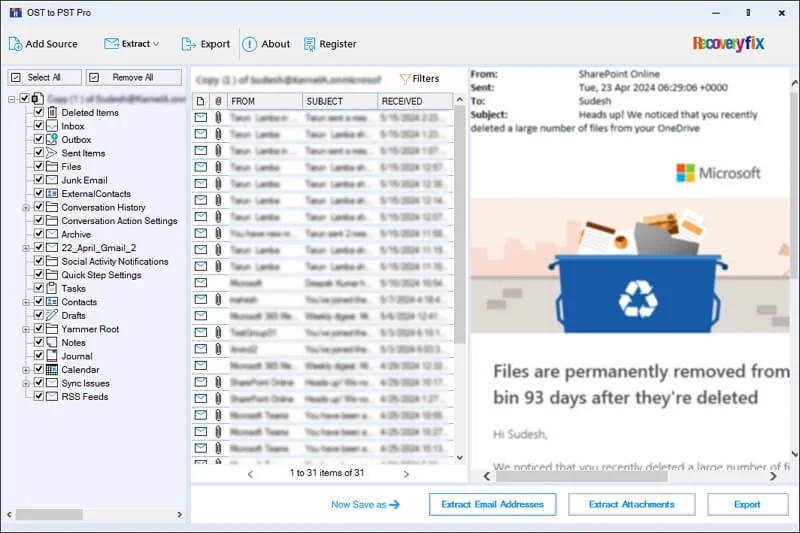
Step 5: Preview the OST file data and apply filters to refine mailbox data.

Step 6: Use the given Filter Options to view the specific emails:
- From
- To
- CC
- BCC
- Subject
- Body
- Read/Unread
- Attachment
- Date
Tap on the Apply Filter option to proceed.
Now, you have three options to export the converted data in the next step. So, choose the most appropriate one as per your requirement.
A. Extract Email Addresses
Here are the complete steps to extract specific emails from the OST files:
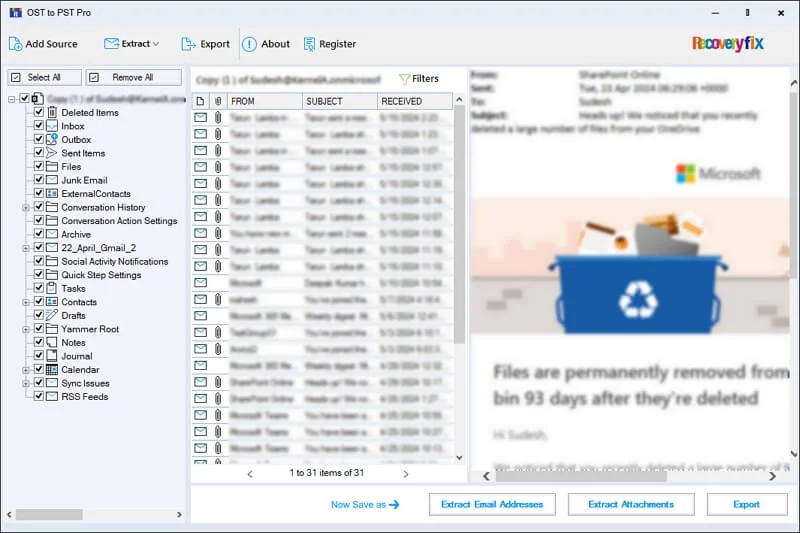
Step 1: Select the mailbox folder and click on Extract Email Addresses.
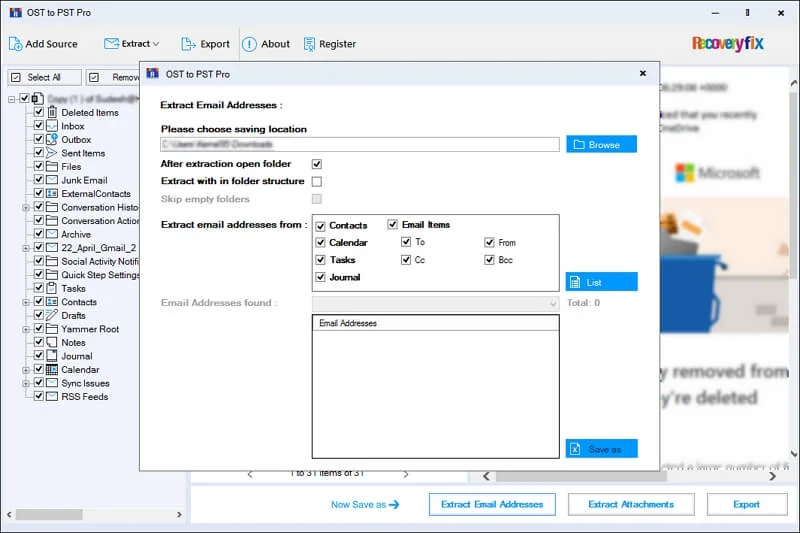
Step 2: Browse to choose the saving location and perform the following actions:
- After extraction open folder: This will open the folder automatically after the completion of extraction.
- Extract with in folder structure: Enable this option to save the emails in the proper hierarchy.
- Skip empty folders: Exclude the empty folders in the output file.
- Extract email addresses from: Contacts, Email items (To, Cc, From, Bcc), Calendar, Tasks, Journals.
Once done, click on the List option to begin the extraction.
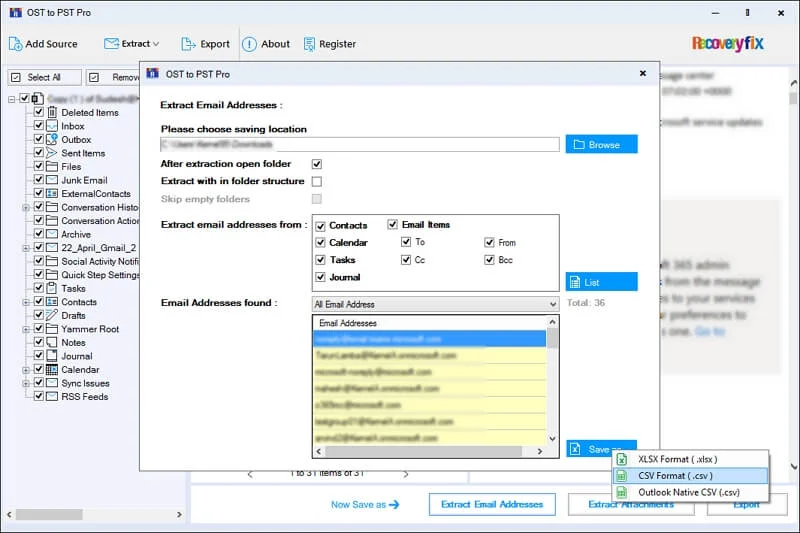
Step 3: Verify the Total count and select the desired format from XLSX, CSV, or Outlook Native CSV.
Note: You can filter out the results using a dropdown menu based on From, To, Bcc, Cc, Contacts, Tasks, Calendar, and Journal.
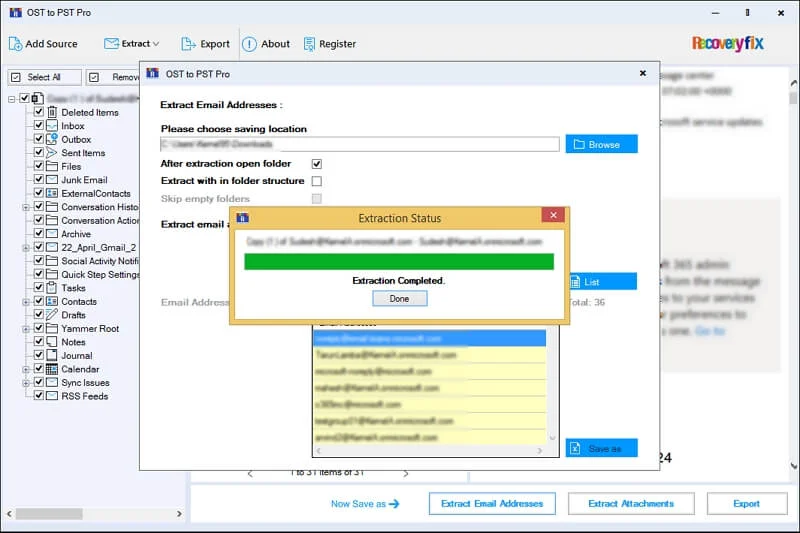
Step 4: Wait for the completion of the extraction process and click Done.
B. Extract Email Attachments
Follow the given steps to extract attachments from the added OST files:
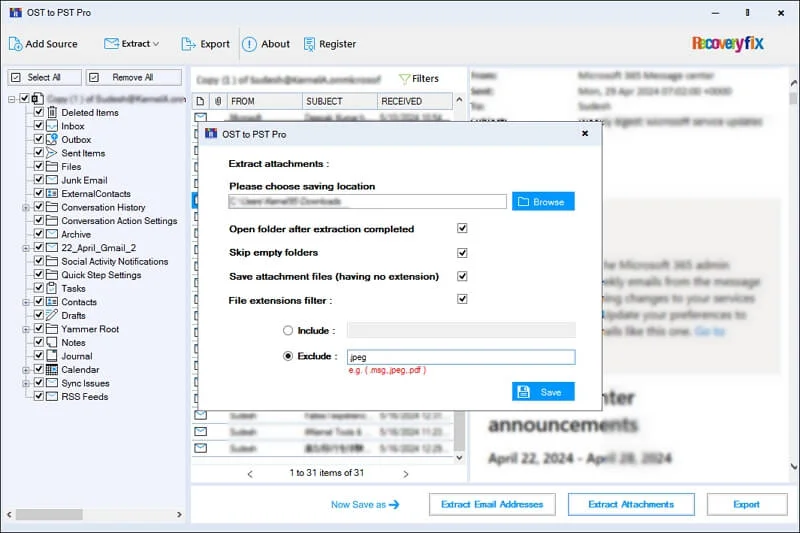
Step 1: Choose the desired mailboxes and proceed to Extract Attachments.
Step 2: Browse to select the file saving location and perform the suitable actions:
- Open folder after extraction completed: Enable this to open the file location automatically once the extraction is done.
- Skip empty folders: Avoid the empty folders from the resultant files.
- Save attachment files (having no extension): This option allows you to save the email attachments that don't have file extensions.
- File extensions filter (Include or Exclude): Enter the specific file extensions to include or exclude them from the final output.
Tap on the Save option once you have filled all the required fields.
Step 3: It will start saving the email attachments to the provided location.
Step 4: Wait till the process completion and click Done.
C. Export Complete Mailbox Data
Here’s how to export the mailbox items to different file formats:
Step 1: Select the necessary mailbox folders and proceed to the Export option.
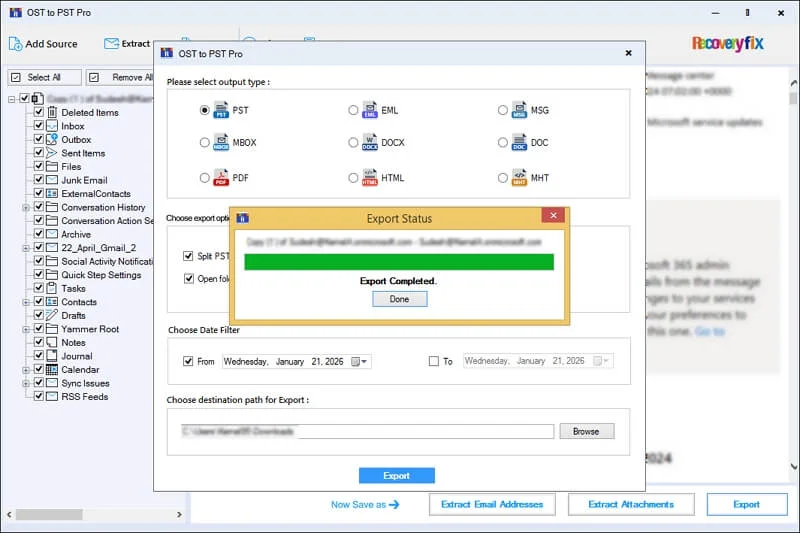
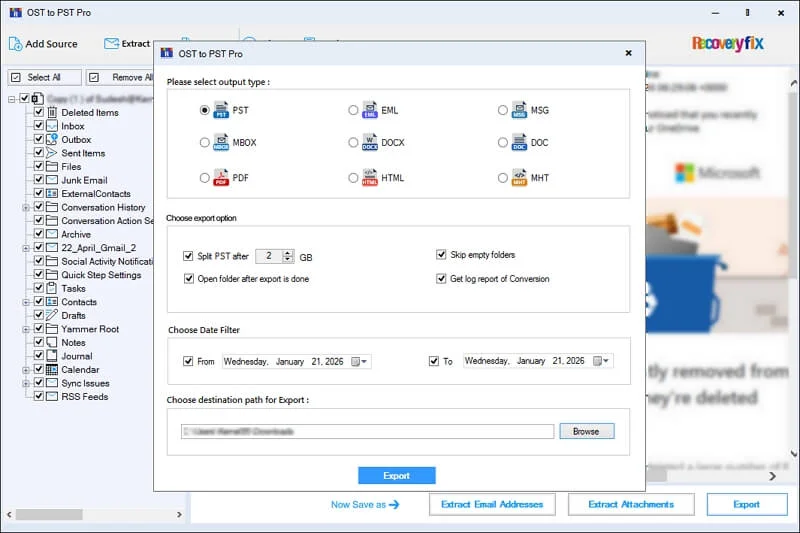
Step 2: Choose the PST format as an output format and select the appropriate options:
- Split PST after: Define the size of the resultant PST file for better management.
- Skip empty folders: Enable this option to remove the empty folders.
- Open folder after export is done: It will open the folder automatically once the export process is completed.
- Get log report of conversion: Use this option to get the detailed report for deeper analysis of the exported data.
Step 3: Apply the Date range filters as per your requirements.
Step 4: Browse to add the destination path and click Export.
Step 5: The software will initiate the export process.
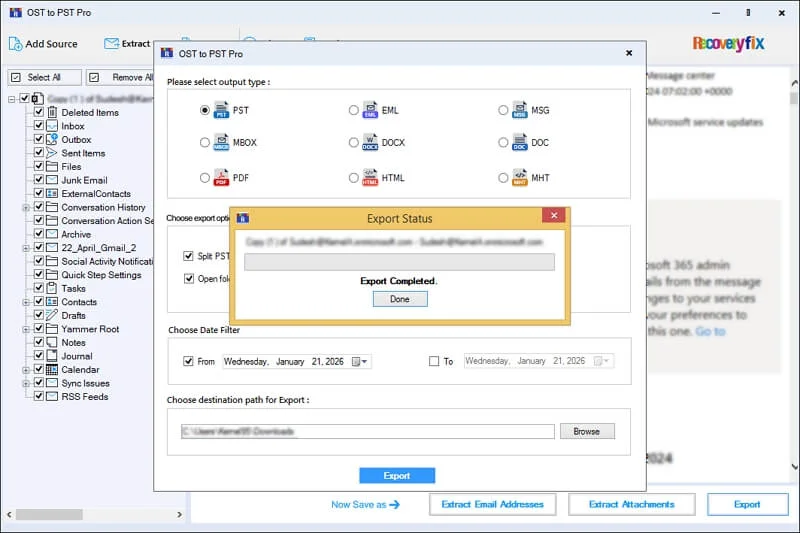
Step 6: Wait for the process completion and tap on Done.