How to Recover Exchange Server 2019 Database?

Updated On - April 17, 2026
Microsoft has introduced many security features in Exchange Server, and they are functional enough to be prepared against several external threats. Some are enabled by default, and some are available for you after you enable them manually. Here are some security settings, filters, and protection feature present in Exchange.
- Ant-spam and antimalware protection
- Content Filtering
- Sender Filtering
- Attachment Filtering
Ant spam and antimalware protection are present in the Exchange Server 2016 and 2019. Anti-spam protection provides in-built transport agents and is enabled by default on Edge Transport servers.
Antimalware was introduced in Exchange Server 2013 and is present to safeguard all the mailboxes of the Exchange Server.
Content filtering checks all the incoming messages for their legitimacy. The filter checks whether the email is genuine or spam. It matches the message from the existing samples of genuine and spam emails and then decides whether to allow the message or not.
Sender Filtering keeps a list of blocked senders and evaluates the value of the MAIL FROM command in SMTP connections from the blocked sender’s list. This feature is present in Exchange since Exchange Server 2010.
Attachment filtering works on the Edge Transport servers and handles the incoming email message that has the attachments. There are several actions to perform like Filtering based on a file name or file name extension, Filtering based on file MIME content type, reject (block) the message, Strip the attachment but allow the message through, silently delete the message, etc.
What situations do users have to be prepared for?
In Exchange, Microsoft has introduced many data protection features which empower administrators to meet compliance requirements and face data disasters. A combination of these native data retention methods helps them meet all their data retention requirements quickly.
Generally, following are the scenarios which Exchange administrators must be prepared for:
- Disaster Recovery
- Recover accidentally deleted items
- Backup storage for long term
- Point-in-time Database Snapshot
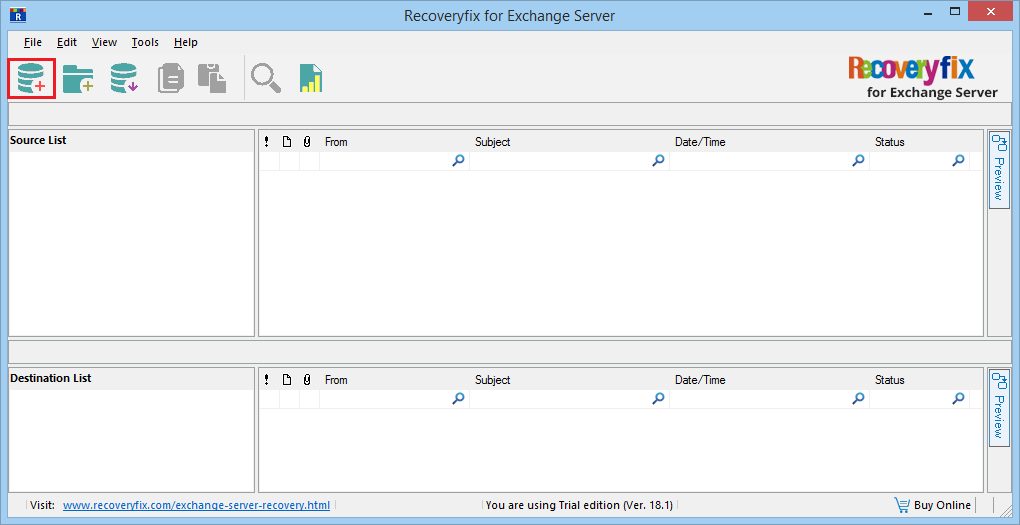
- Install and run the software. There are two sections for source and destination Files. Click Select Source icon.
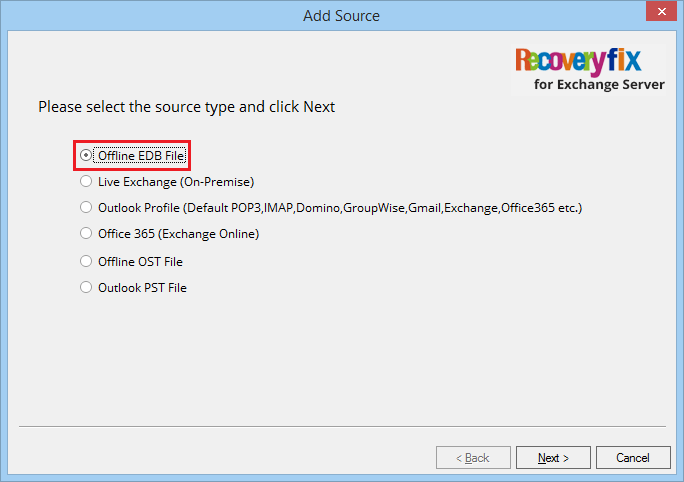
- The software shows a list of various source files. Select first one for the EDB file.
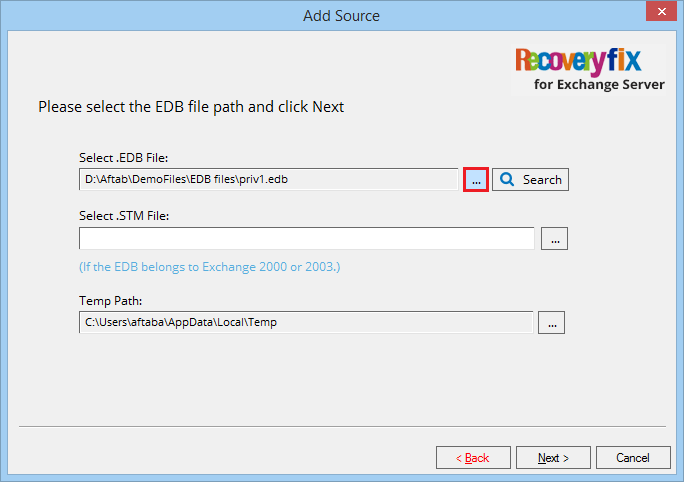
- Browse the EDB file path (the tool can also search the EDB file in any drive or folder). Click Next.
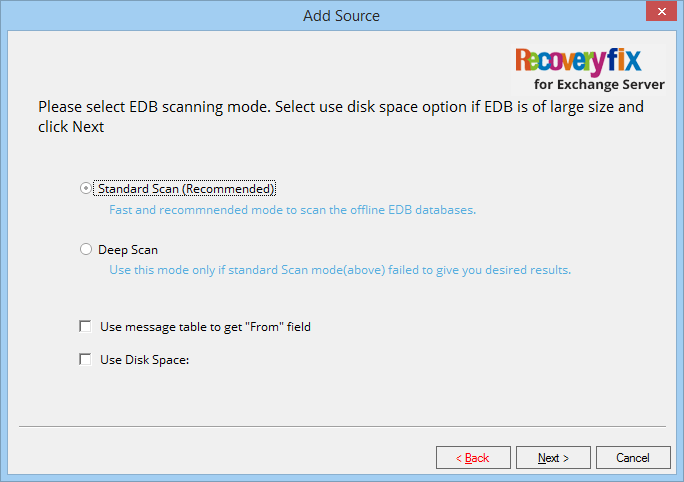
- The tool offers two scan modes for your EDB file – Standard Scan and Deep Scan. You can choose any scan mode based on the corruption level. Click Next.
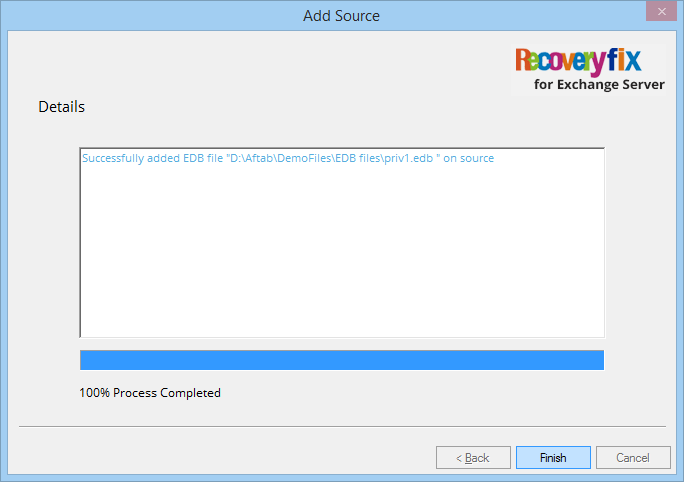
- The tool scans and repairs the EDB file. Click Finish.
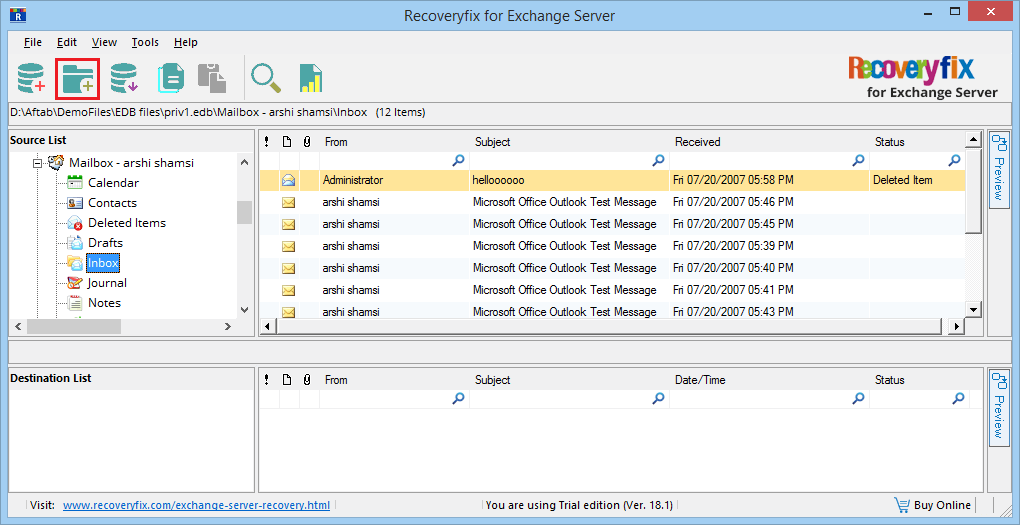
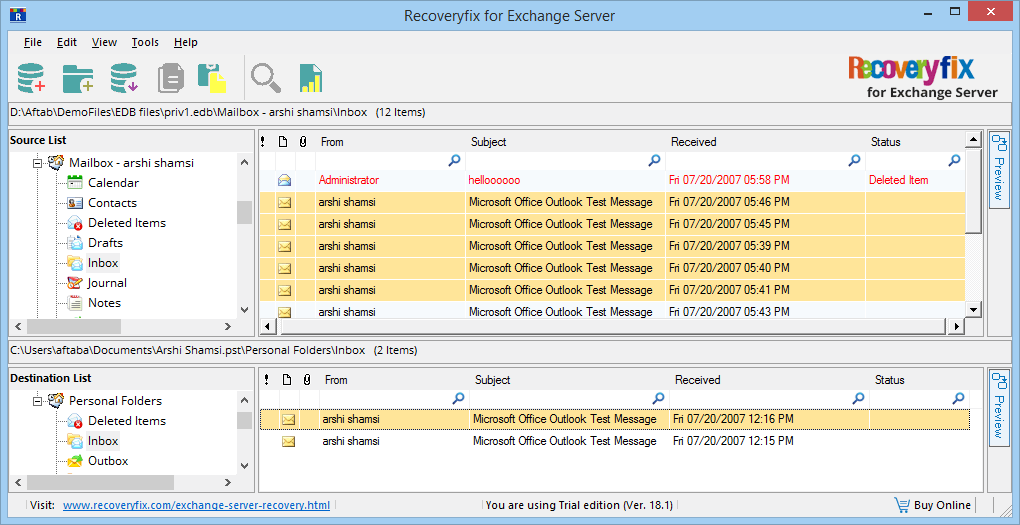
- Entire mailboxes of the EDB file are presented in the proper tree-structure. Expand any mailbox and check its contents. The deleted items are present in red color. Finally, click on Add destination icon.
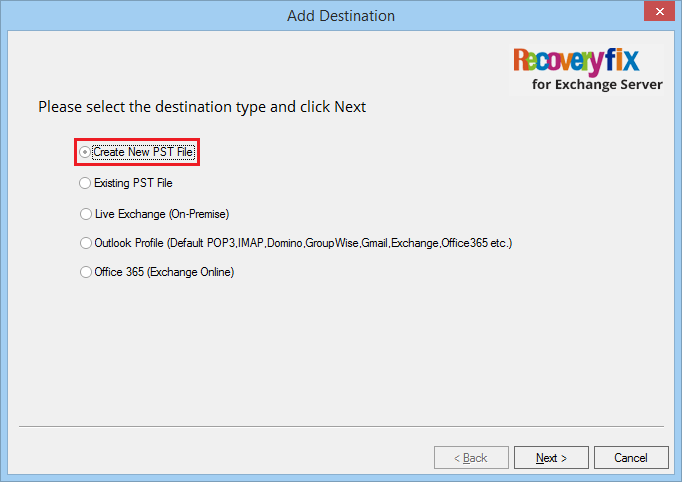
- Choose the first option to create a new PST file. You can also choose to save the data in an existing PST file. Click Next.
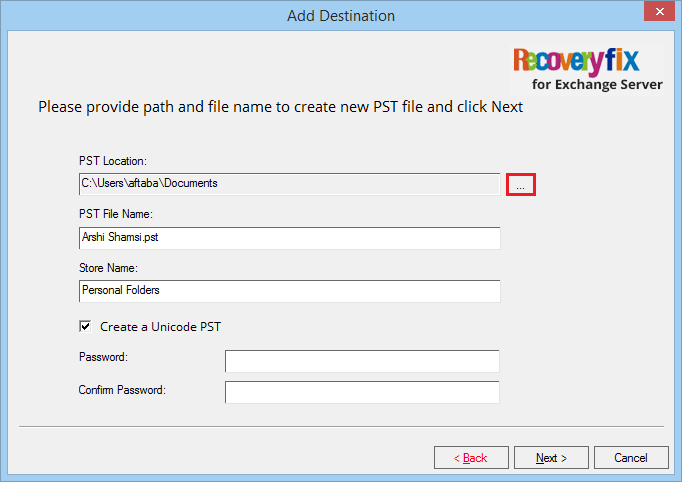
- Browse a suitable location for the PST file, then provide a new name to it. Click Next.
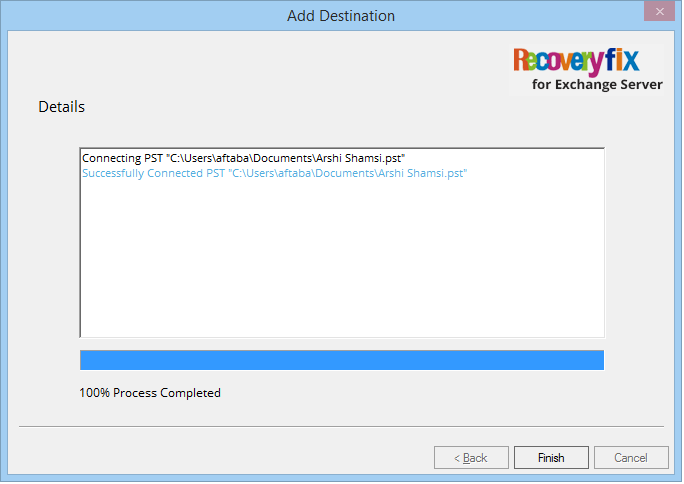
- The tool creates a new PST file. Click Finish.
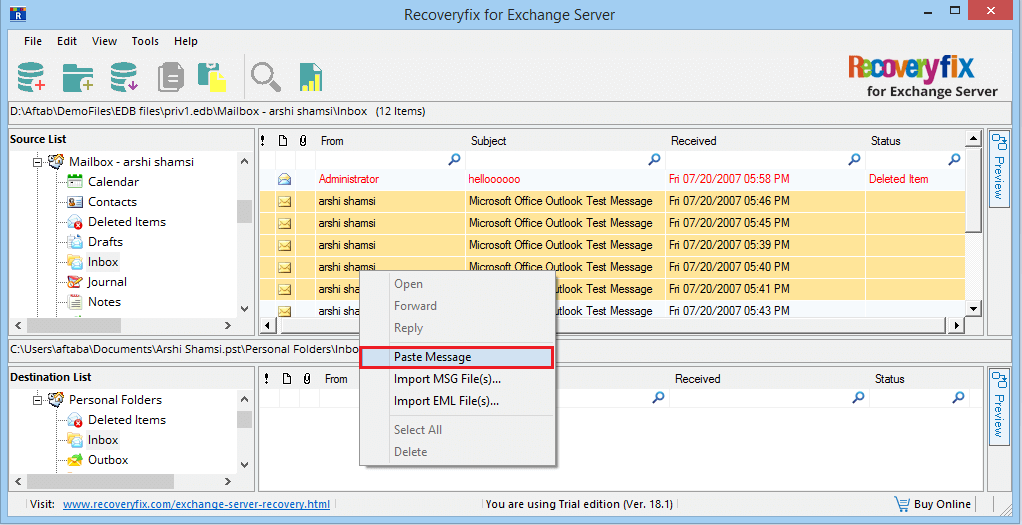
- Select the messages from source EDB file. Right-click them and select Copy Message(s).
- Go to the destination section, right-click on it, and choose Paste Messageoption.
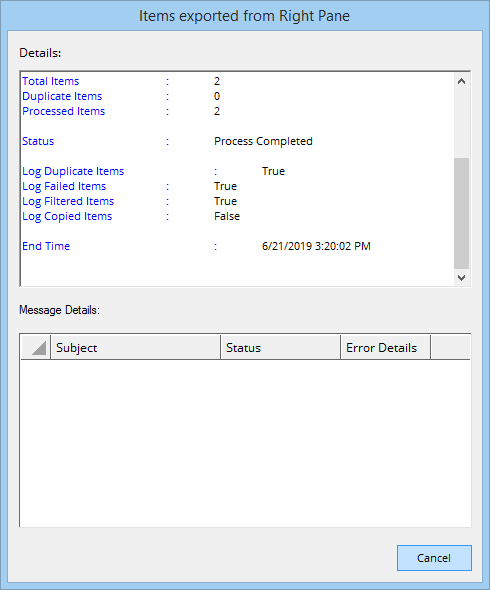
- The tool moves the data and shows a migration report.
- This way, you will recover the corrupted data from the EDB file to a PST file that can be easily accessed or viewed in the Outlook application.
Database Availability Groups (DAG) keep multiple copies of the databases to ensure the availability of data constantly. In case of software or hardware failure, users can quickly get data from any member of the database availability group. You can extend these database availability groups to a variety of sites and save yourself from any storage, server, data center, or network-related failures.
Generally, the recovery process of deleted items includes finding the backup file where the data was saved earlier, then accessing the data from it and restoring it to the database. But the latest version of Exchange Server 2019 and 2016 provides a Recoverable Items Folder. You can apply a Hold Policy on the Recoverable Items Folder too, and it will hold the deleted and modified data for a given period. It makes it easy for administrators and users to access the data from the folder, and there is no need to run any recovery procedure.
Backups are the most common form of storing the Exchange data at a safe location and later retrieving it in case of any database failure. Backups are archives which are encrypted and protects the data for the long term. In latest Exchange backup archiving, multiple mailbox search and message retention features have increased the safety of data, and now users can save the data for a more extended period.
Point-in-time snapshot is a unique feature which creates a lagged copy of the database at the database availability group. It is helpful in scenarios, when a logical corruption has hit the Exchange, and you need to go to a previous state of the Exchange. It is also helpful in restoring accidentally deleted items. The advantages of using the point-in-time snapshot is that it takes quite less time than a backup for restoring the data. It does not require the copy process from the backup server to the Exchange server.
Top method to recover Exchange Server 2019 database!
With the help of native Exchange data protection features, you can strengthen your data retention capabilities. However, multiple threats like malware, spyware intrusion, hardware failure, software failure, and user errors can lead to corruption in the Exchange database.
In such a case, you need expert-recommended advanced Exchange Server recovery software to help you fix the error and even recover all the required data. Recoveryfix for Exchange Server Recovery is one of the most recommended options by professionals in this section. It accesses the corrupt EDB file, scans it, removes the corruption, and brings all the data back to the users. Its compatibility with all Exchange versions, including Exchange 2019, gives users more flexibility. To validate the features of the tool, here we have provided a complete stepwise working approach:

Conclusion
With the help of Recoveryfix for Exchange Server, users can recover the Exchange database seamlessly. So, the blog has covered all the info supporting the same concern in detail.
For complete understanding, we have also provided a complete step-by-step working approach of the tool. Moreover, you can get hands-on experience with its free trial version.