Tips to Recover Mailboxes Database in Exchange Server 2016!

Updated On - February 18, 2026
Moreover, for hassle-free recovery with 100% intactness, consider the Recoveryfix for Exchange Server tool.

A recovery database (RDB) is a unique sort of mailbox database; as a part of the recovery process, you can mount and extract data from a restored mailbox. An Exchange administrator uses different tactics to protect the data from corruption and to retrieve the data in case of corruption. In this write-up, we will go through some necessary recovery procedures applicable in Exchange Server 2016.
Why is recovering the mailbox database important?
Here are some essential factors that focus on the need for this recovery. Go through them one by one carefully.
- Helps in recovering data during server failure or any other mishaps.
- Data extraction can be another significant reason for doing the process.
- Migration of mailbox from the source location to the new one.
- Recovering the mailbox database also helps in an organization’s testing & development section.
Top ways to Recover mailbox database
After several hits & trials, we have come up with the best ways to help you give satisfactory results. Let’s explore them one by one.
Solution 1. With the help of Exchange Backup!
Exchange administrators usually use Windows Server Backup to take the backup of Exchange data, and you can retrieve the data up to the last successful backup.
In this scenario, you must be aware that the lost data which was created after taking the backup will not be recovered, still you can use the transaction log files to roll back the committed transaction and get the complete data.
But if the transaction log files are also missing, then you can only recover the data up to the last backup. It means you will bear some data loss.Before starting the recovery, check when the Windows Server Backup utility took the last backup.
Run the cmdlet –
Get-MailboxDatabase -Server NPP2016V3 -Status | f1 Name, LastFullBackup
It will provide name of the database and details of the time of the last backup. For example,
Name : DB432432
Last Full Backup : 2/3/2017 3:52:22 PM
After verifying about the last backup, you can begin the recovery procedure by following the steps:
- Open Windows Server Backup > Actions tab >click on ‘Recover.’
- Choose the source of the backup. If backup is present in the same volume, then select This Server (ServerName).
- Choose the backup that you want to restore.
- There will be multiple restore types which you can choose, like Files and Folders, Volumes, Hyper-V, System State, and applications. Choose ‘Applications’ and go ahead.
- On the following page, select ‘Exchange.’
- In the Recovery options, choose ‘Recover to the original location.’
- The tool will provide a summary of your choice. Confirm it.
- The recovery begins. After completing the successful recovery, the database will be automatically mounted and available to use. You can check the missing data in Outlook.
Solution 2. Use the Recovery database
An experienced Exchange Administrator is aware of the importance of the Recovery Database. It is a special kind of mailbox database that lets you extract data from a restored database in the recovery operation. The Recovery Database recovers the data from the backup or a copy of the database. This way, you are not obliged to repair a corrupt Exchange EDB file but restore data from a duplicate database.
After you have created a recovery database, you can use a backup application to restore the data in the restored mailbox or copy the database and its log files directly to the recovery database. After that, you can use the New-MailboxRestoreRequest to run the restore procedure.
Here are the steps to recover the data using a recovery database.
- Copy or restore a database and its log files to a location that is suitable for the recovery database.
- The database must be brought into a clean shutdown condition, and that is possible through the ESEUTIL tool. Run the command;
- Create a recovery database > provide it a name > get the name and path of the database file for the EdbFilePath parameter, and the location of the recovered log files.
- Restart Microsoft Exchange Information Store Service.
- Mount the Recovery database to Exchange Server.
- Make sure the recovery database contains the mailboxes you need to restore.
- Check the status of restoration request on a regular basis.
- After successful completion of the restore job, you can remove it.
Eseutil /R Database32932 /l F:\Databases\Database59343 /d F:\Databases\ Database59343
New-MailboxDatabase -Recovery -Name RecoveryDatabaseName -Server Matt -EdbFilePath “E:\Databases\Database59343\Database59343.EDB” -LogFolderPath “E:\Databases\RecoveryDatabase”
Restart-Service MSExchangeIS
Mount-database RecoveryDatabaseName
Get-MailboxStatistics -Database RecoveryDatabaseName | Format-Table Name,MailboxGUID –AutoSizeCreate a new mailbox restore request.
New-MaiboxRestoreRequest -SourceDatabase Database59343 -SourceStoreMailbox “Matt Goodman” -TargetMailbox Matt@contoso.com –TargetIsArchive
Get-MailboxRestoreRequest
Get-MailboxRestoreRequest -Status Completed | Remove-MailboxRestoreRequest
Are the manual methods enough to give 100% successful results?
Manual methods can only be helpful when your database is in a healthy state. However, these methods might not be beneficial when your database is going through severe corruption or in incomplete or corrupted backups state. Hence, to avoid these uncertainties & time-consuming approaches, you should consider for the advanced Exchange Server recovery option.
Recoveryfix for Exchange Server recovery tool is one such preferable tool by professionals to deal with Exchange-related issues. Moreover, its advanced algorithms help users to export EDB files to Office 365. Let’s understand its feature’s credibility with the following stepwise approach:
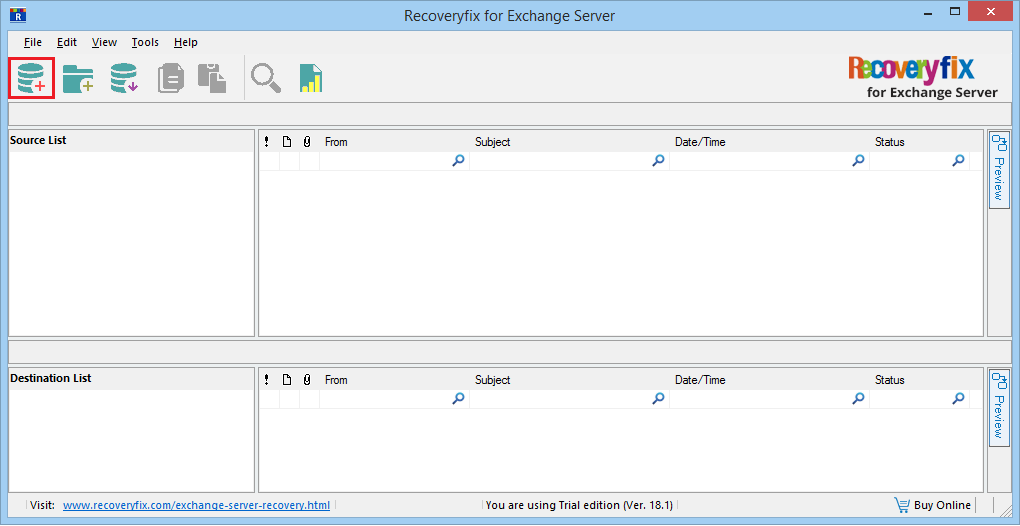
- Run the software and click Add Source icon.
- Select Offline EDB file. Click Next.
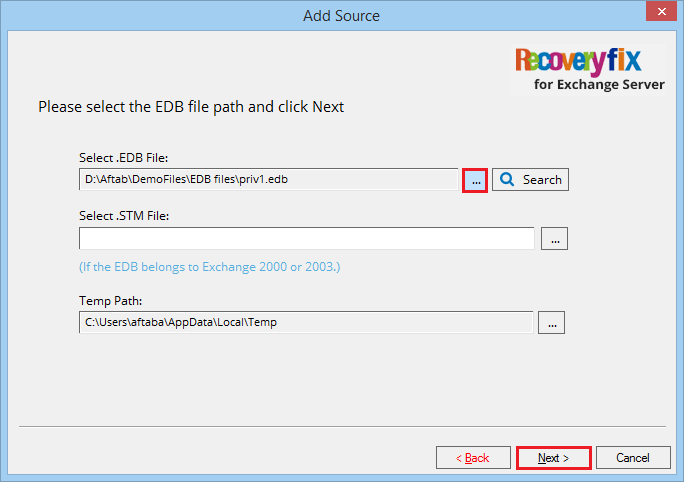
- Browse the EDB file and click Next.
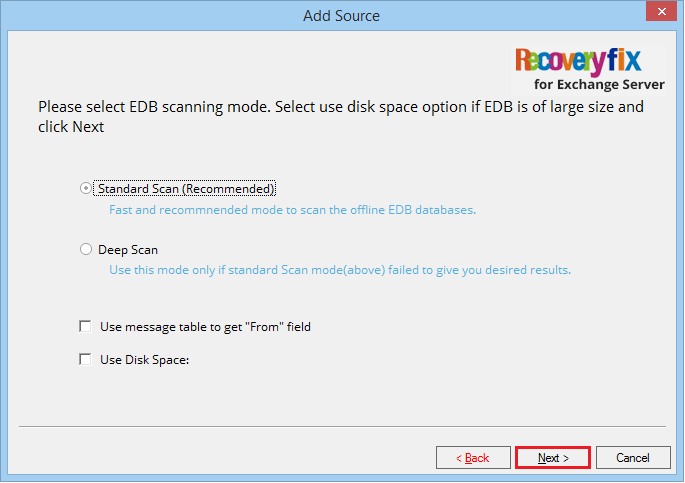
- Choose standard scan, then Click Next.
- The tool has scanned and recovered the data. Click Finish.
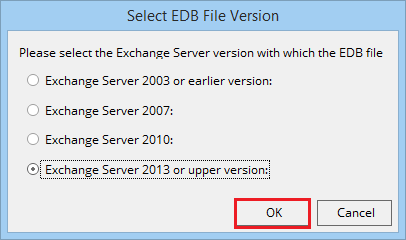
- Choose the version of Exchange Server. Click OK.
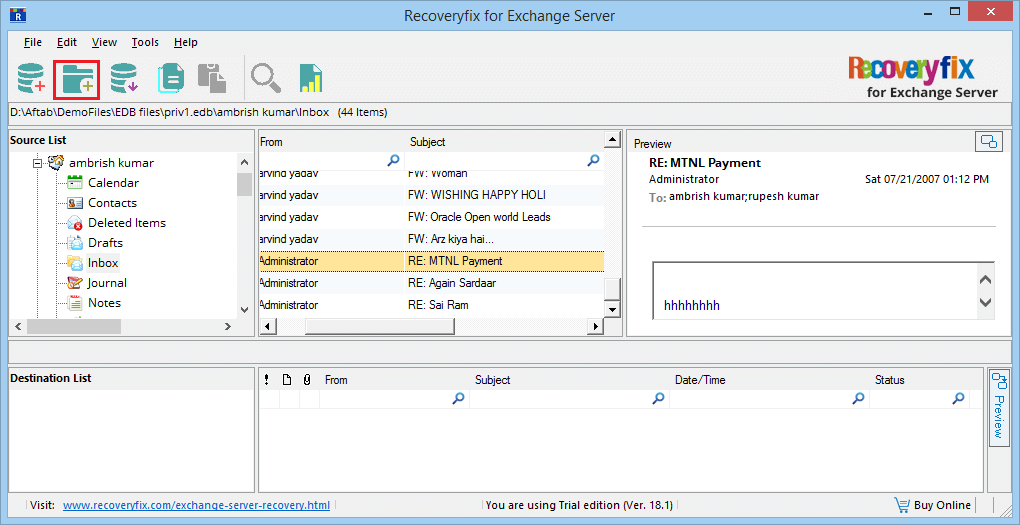
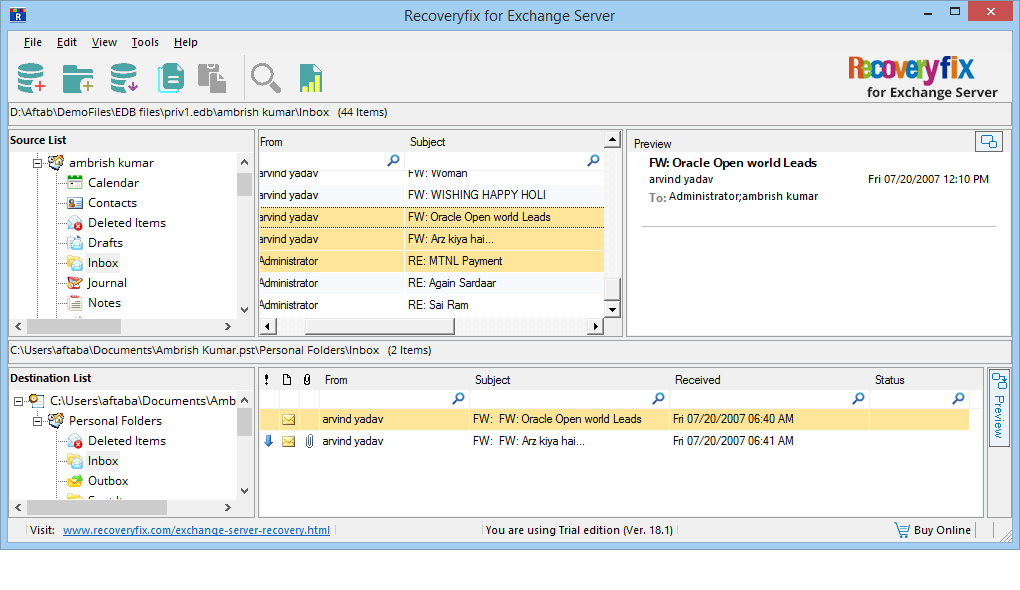
- The EDB file content is present in the source list. You can check its folders and see the preview of each file. Now, click Add Destination icon.
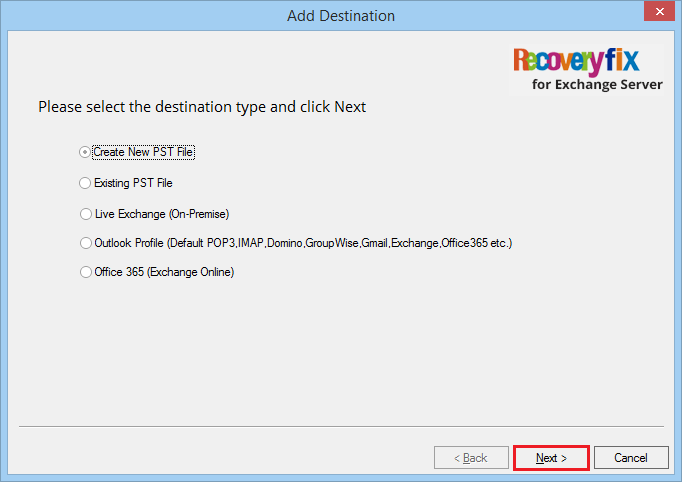
- Select ‘Create new PST file’ and click Next.
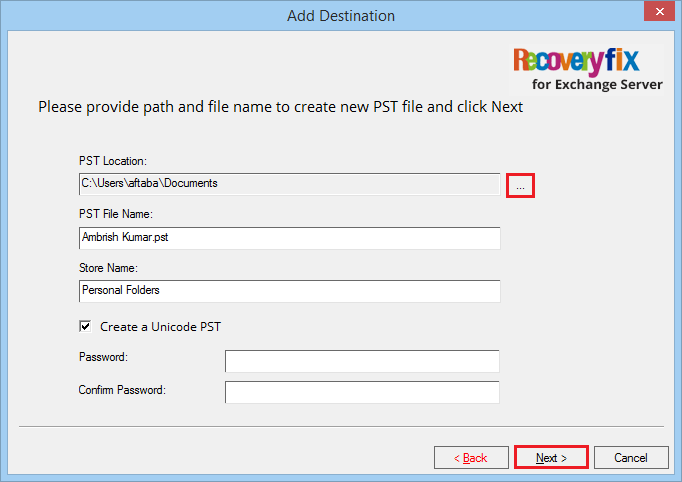
- Browse the saving location of the PST file and provide a name to the PST file. Click Next.
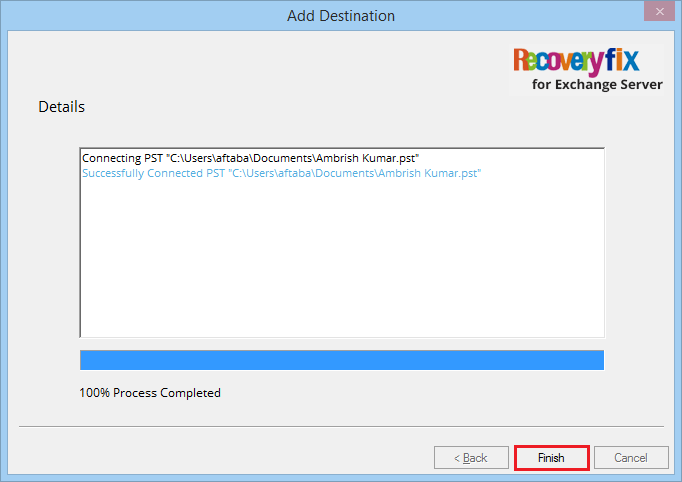
- The tool adds the PST file now click on Finish button.
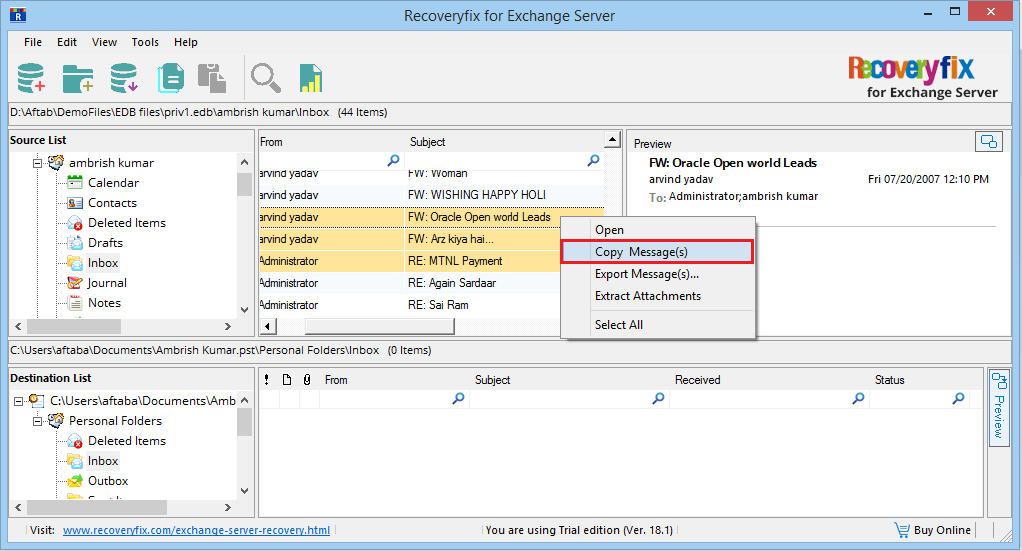
- Select the messages from the source mailbox, right-click on it, and select Copy message(s).
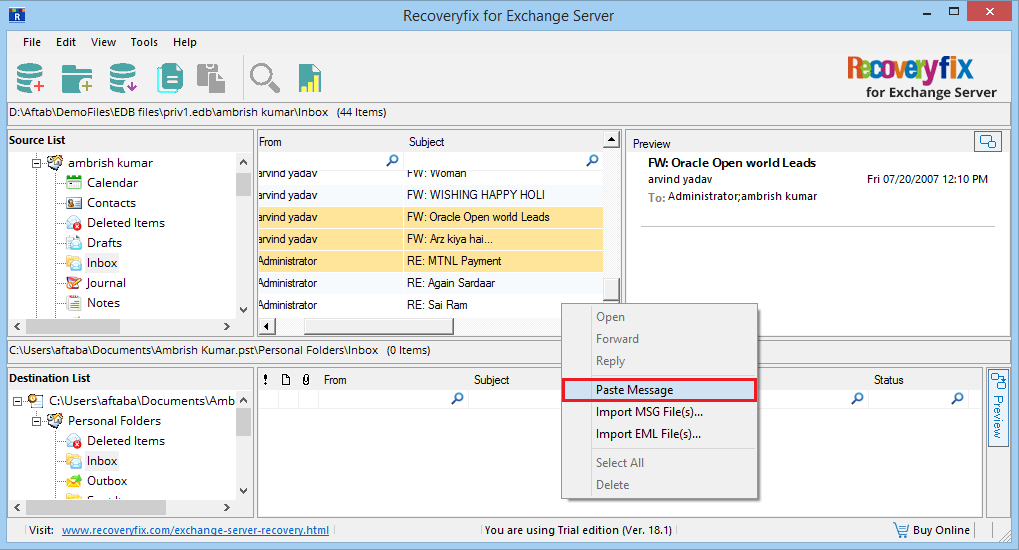
- Go to destination PST file, right-click on it and select the Paste Message option.
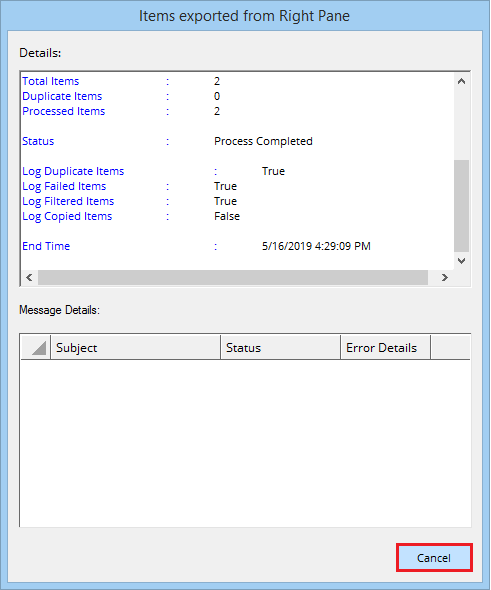
- After migrating the messages, the tool gives the migration report. Click Cancel.
- The message is now present in the PST file.


After transferring the files, you can access the PST file in Outlook.
Conclusion
To recover the mailbox database in Exchange Server 2016, you can choose either the suggested manual method or the recommended advanced option. Make sure that every step should be followed in the correct order.
The software’s advanced features also recover exchange server 2019 database file without the help of any duplicate database or log entry.