Working of Recoveryfix MBOX Converter – FreeBuy Now
How does Free MBOX Converter Work?
The Recoveryfix MBOX Converter - Free, as its name suggests, performs free conversion from MBOX files to EML files. This tool offers unlimited MBOX to EML conversion. Its support to about 20 MBOX email clients makes it a unique tool.
Let us understand the working of this MBOX to EML converter tool:
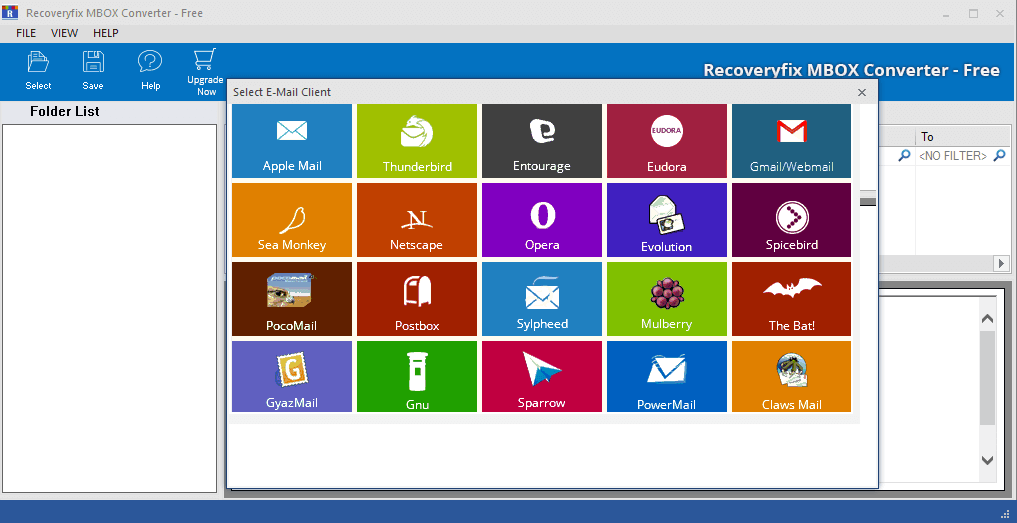
Step 1: Launch the Recoveryfix MBOX Converter - Free application. The welcome screen is displayed like this.
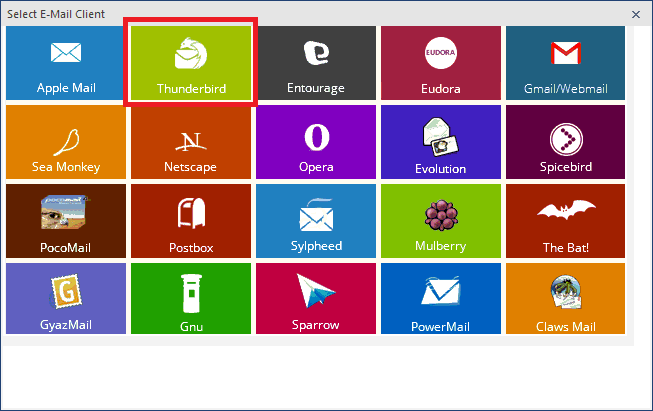
Step 2: Choose the required MBOX email client (Thunderbird, for example).
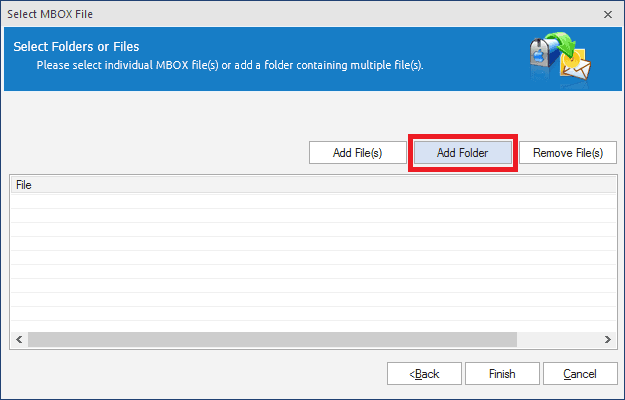
Step 3: Now, you have two options to add MBOX files – Add File(s) or Add Folder. With Add Folder, the tool automatically detects the MBOX files present in the specified folder. Here, we are selecting the second option – Add Folder.
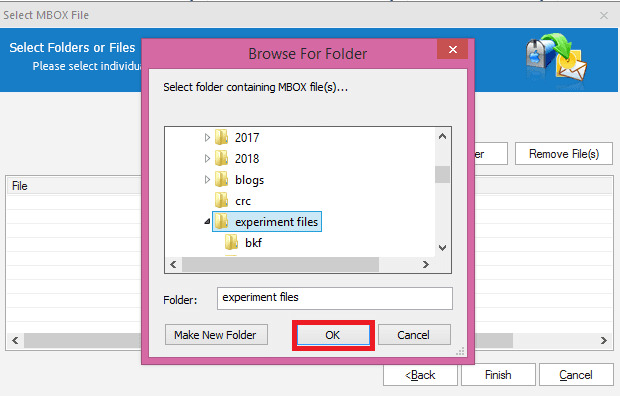
Step 4: In the Browse for Folder dialogue box, select the folder in which MBOX files are present and then click OK.
Step 5: Your MBOX files will automatically get enlisted under Folder List on the left side. On the right side, you will find the list of emails in the selected MBOX folder. By selecting an email from the list, you can have its full preview at the bottom-right. Click Save to save the MBOX file items.
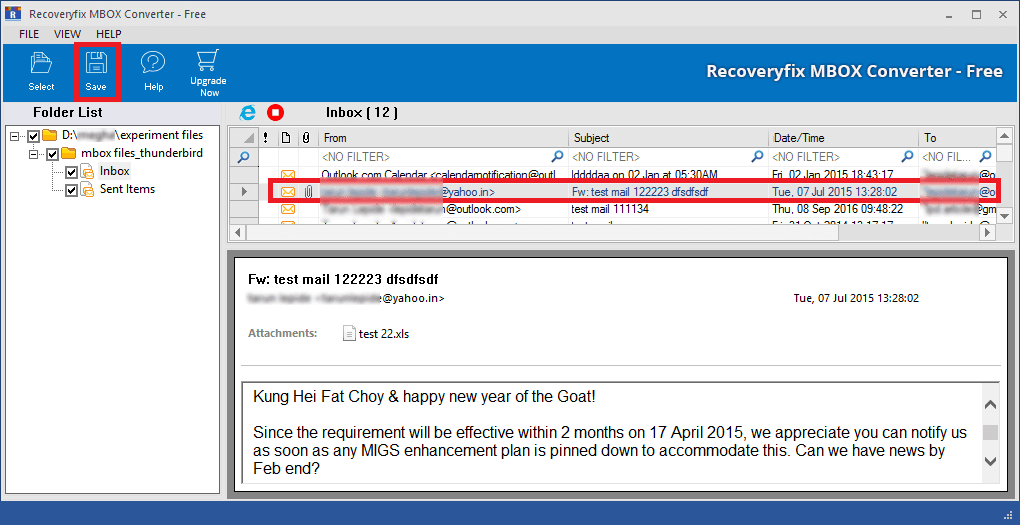
Note: You can also have the Preview of email attachments in this software.
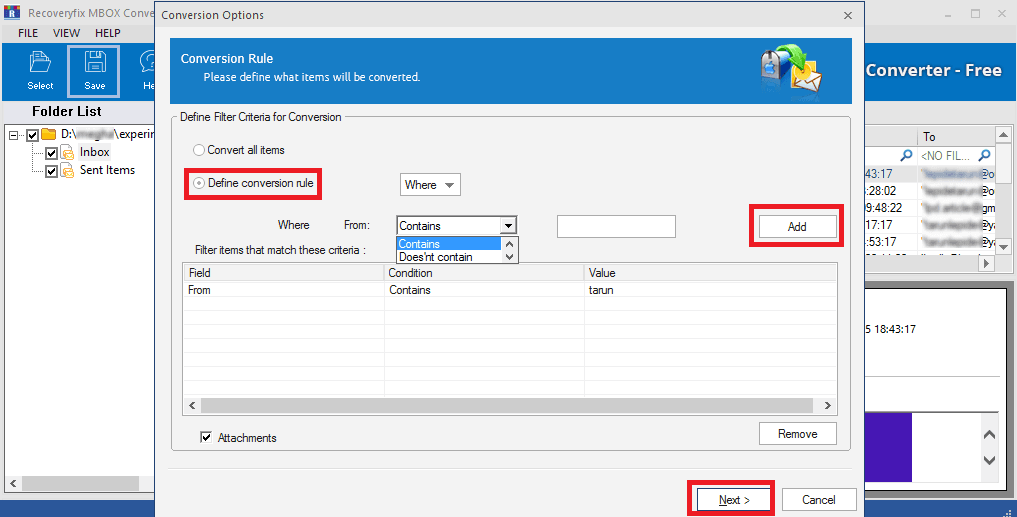
Step 6: Next, you will have two options – Convert all items & Define conversion rule. You can utilize the second option for selective conversion. Select Define conversion rule and expand the Where menu. Here, you have four options – From, To, Subject and Date.
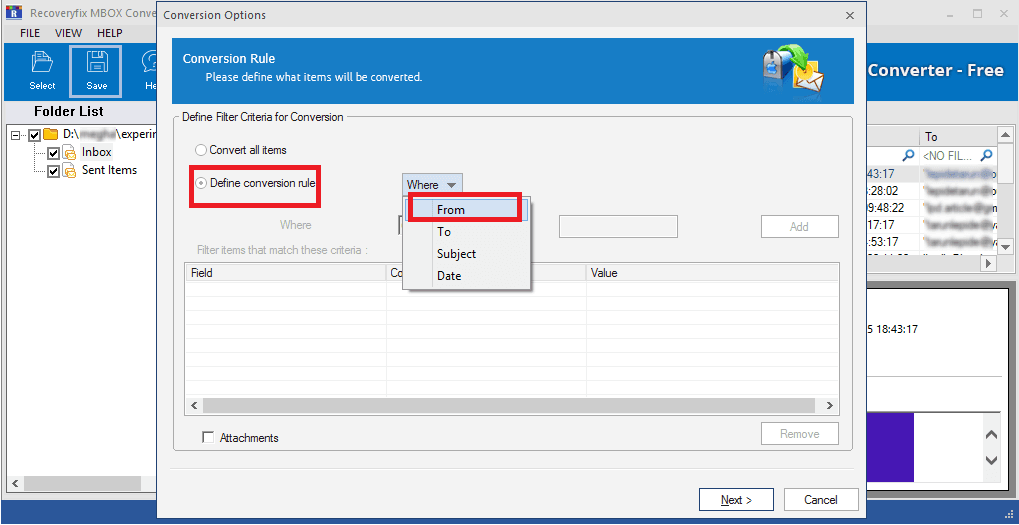
Note: The Convert all items options will select all the file items in the mailbox for conversion.
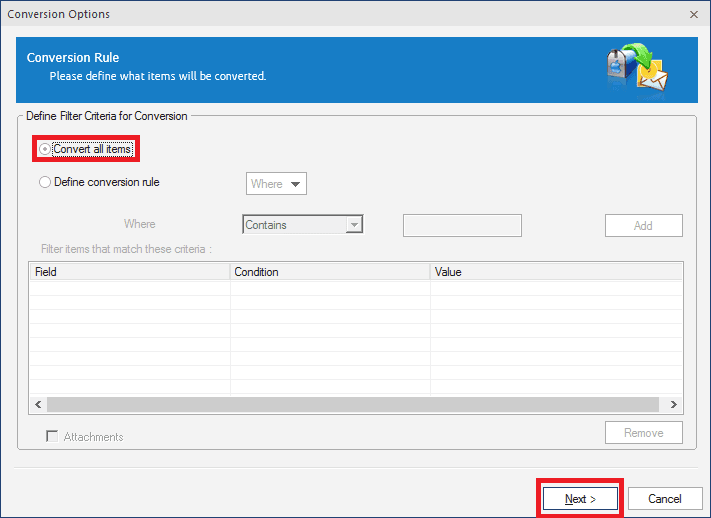
Step 7: When you choose the From filter, the tool will ask you to enter the character or word that the mail Contains or Does not contain. Enter the word or character that easily identifies your desired emails. Click Add to add it as a filter. You can also select Attachments checkbox to add the presence of attachments as a filtering criterion. After adding all the desired filters, click Next to continue.
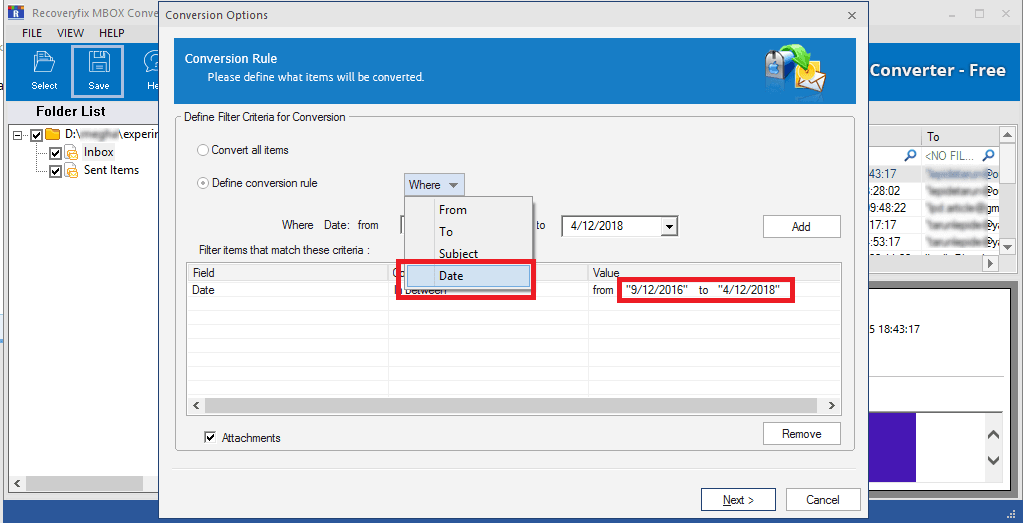
Note: In the same way, you can add To and Subject filters. Using the Date filter, you can provide a date range to select the emails coming in between that range. (And using the Remove option, you can remove any selected filter).
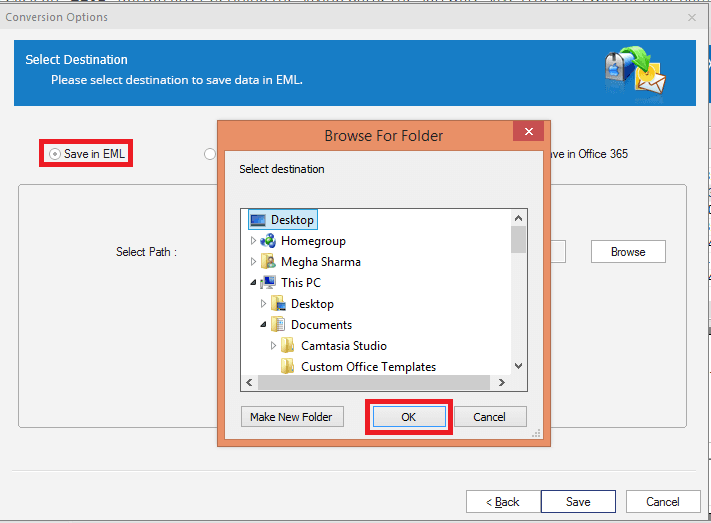
Step 8:In the Select Destination dialogue box, select the option Save in EML to convert MBOX to EML free. In the Browse for Folder dialogue box, provide the destination location. Then, click OK.
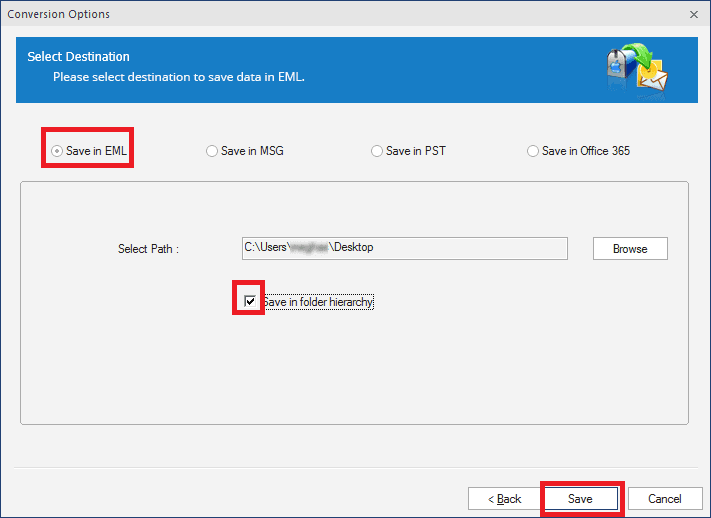
Step 9:The destination path gets added. Select Save in folder hierarchy to have the items saved with the same folder hierarchy as in the original MBOX file. Finally, click Save.
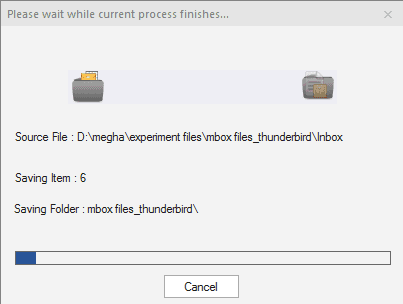
Step 10: The progress of MBOX to EML conversion is displayed like this.
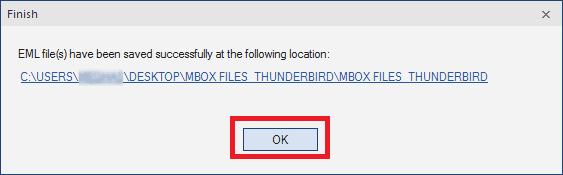
Step 11: Once the saving process is finished, you will receive a confirmation message. Click the given link to access the destination folder directly or click OK to finish the process.