A Complete Guide to Transfer OST File to New Computer! [2026]

Updated On - April 17, 2026
You are planning to upgrade the hardware and software in your organization. But the issue is migrating the mailbox data stored in the form of OST files. Indeed, you can’t transfer OST file to another computer directly.
Therefore, the blog will guide you with the suitable methods to migrate Outlook data to the new system without any synchronization or data loss. Read now to know more.
Why Move Outlook OST File to New Computer? – Find Common Reasons!
Check out the reasons that are most likely responsible for the Outlook data file migration. Here they are:
- Switching workstations during the job role or relocation.
- System or portable pc upgrade without losing existing mailbox data.
- Damaged or crashed system, replaced with a proper Outlook file backup.
- To avoid the situation of a longer synchronization process for large mailboxes.
- Preserve cached mailbox data when server access is temporarily unavailable.
- Keep the email data available for easy accessibility during offline situations or limited connectivity.
How to Transfer OST File to New Computer Manually?
This section highlights the best manual methods to move Outlook data files, along with clear steps. Explore them now:
Solution 1: Move OST File Data with Import/Export Utility
We have divided the process into parts to perform this operation without any difficulties. Follow the steps carefully:
Section 1. Export the Mailbox Data from Outlook
First, we will export the Outlook file data into PST format using the Import/Export utility. Here’s how:
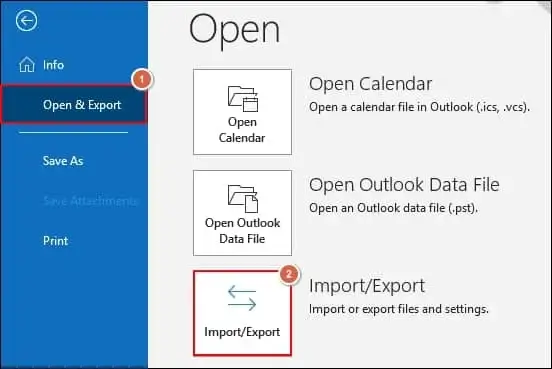
- Access the Outlook application & hit the File option.
- Select the Open & Export > Import/Export option.
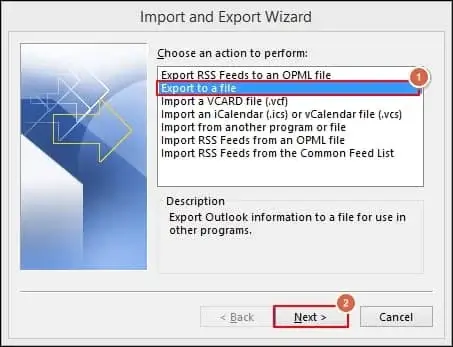
- In the next section, choose the Export to a file option and tap on the Next option.
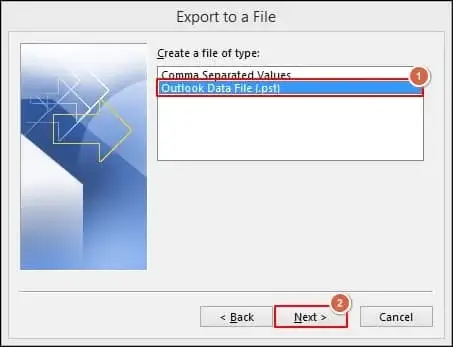
- Tap on the Outlook Data File (.pst) and click on the Next option.
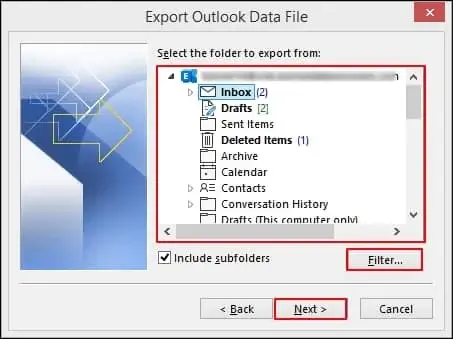
- To make your transfer specific, choose the desired folder and corresponding filters. Then, tap on the Next option.
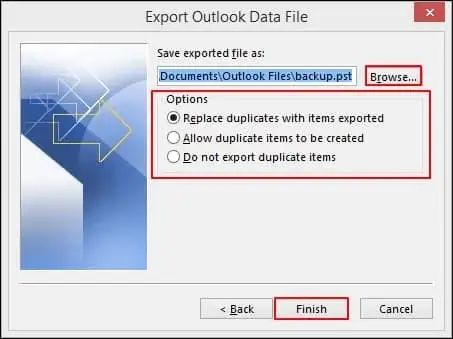
- In the next window, Browse the saving location and choose suitable Options. Finally, click on the Finish option to initiate the process.
Note: If you want extra layer security, you can set up the password for the exported file. Otherwise, you can move ahead without providing any passwords.
Section 2. Import the Exported File to the New System
Move Outlook OST file to new computer and execute the following steps:
- Start the Outlook application & click on the File option.
- Click on the Open & Export > Import/Export option.
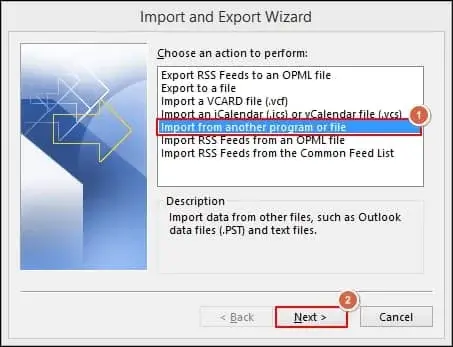
- Under the Import and Export Wizard, select the Import from another program or file option. Then tap on the Next option.
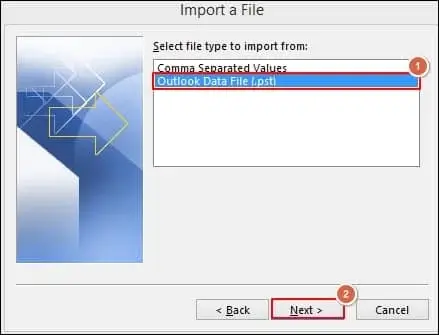
- Choose the Outlook Data File (.pst) option under Import a File page & click on the Next option.
- Browse the location of the PST file & select the suitable Options, and then tap on the Next option.
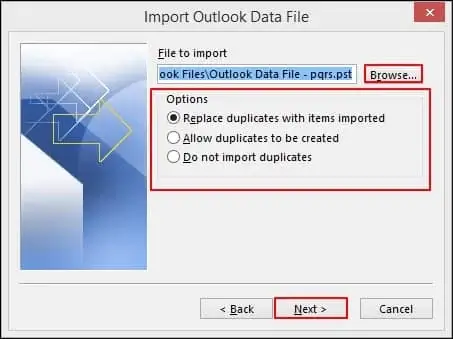
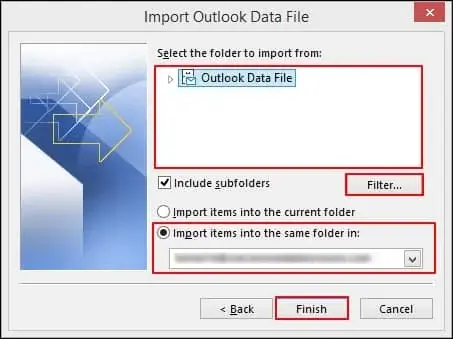
- Select the folder to import from with suitable Filters and the destination for storing the mailbox content. Finally, click on the Finish option to complete the process, and then restart the application to check the changes.
This way, you can successfully transfer OST file to new computer.
Solution 2: Trace OST File Location & Convert It
Another way is to find the location of the OST file and convert it to different compatible formats like PST. Here’s how:
Section 1. Find the Location of the OST File
Here are the detailed steps to locate the OST file on your system.
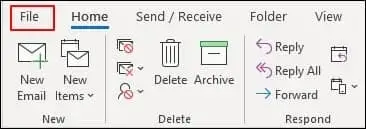
- Open the Outlook application & tap on the File option.
- Go to the Account Settings> Account Settings option in the next window.
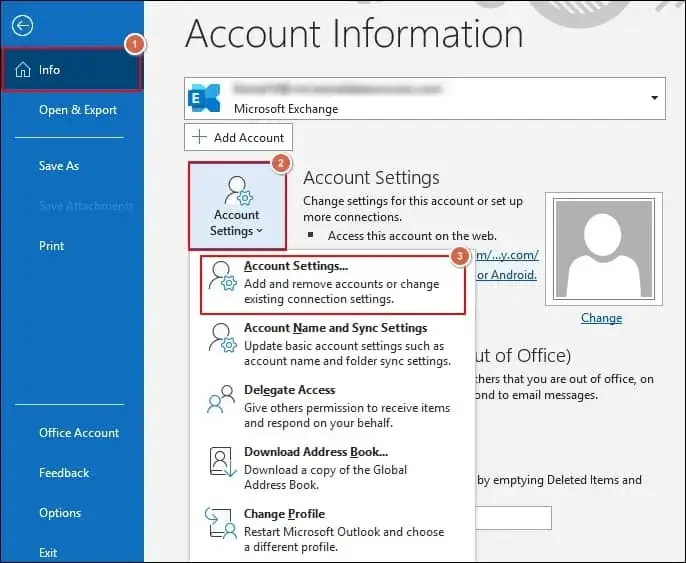
- Select Data Files, choose the desired account of which OST files you want to locate & then click on the Open File Location to access the location of your OST file.

Section 2. Convert the OST File to Another Format
Once you know the OST file’s location, the next step is to convert these files into PST format. For this, you can take the help of our Recoveryfix OST to PST Converter software. The OST to PST Converter tool helps you convert single or multiple OST files into different formats. It also helps in managing the OST file size issues, like the OST file has reached maximum size with its split PST file feature.
Follow the given instructions to convert the files using the professional tool.
Step 1. Download and install the software on your system.
Step 2. Browse to add single or multiple OST files for conversion.
Step 3. Preview and select the required mailbox for conversion. Then click Save.
Step 4. Choose the PST file (MS Outlook) as an output type and click Next.
Step 5. Apply the filters if necessary and proceed to Next.
Step 6. Browse to provide the saving location and click Finish.
Step 7. It will start converting the OST files.
Step 8. Transfer OST file to another computer to access its content.
Smart Tips to Transfer OST File to New Computer!
Use the given best practices to move OST files without any errors or problems:
- Take a full backup of the mailbox data to avoid data loss situations.
- Check the mailbox sync status before exporting the data from Outlook.
- Make sure the Outlook data file is in a healthy state during the entire process.
- Keep Outlook and Windows up to date for smooth compatibility on both systems.
- Verify the mailbox data, like emails, contacts, and more, after the successful transfer.
Let’s Recap!
We have covered different methods to move OST file to new computer for free. It includes the detailed steps of both manual and professional solutions to complete the transfer process easily. You can pick the most appropriate one for yourself from the provided methods. But choosing the recommended solution is a quicker approach and can fix issues like the Outlook OST file cannot be opened.