A comprehensive guide to import OST files into Outlook

Updated On - October 17, 2025
OST (Offline Storage Table) is the format used by Outlook to store files offline (on the local system). With an OST file, you can operate Outlook offline. Due to organizations or individuals’ requirements, users sometimes look to transfer their data to other systems. Considering its cruciality, users are always concerned about their security and integrity, when they have intended to load OST file to Outlook.
Outlook exclusively supports PST files for exporting & importing mailbox contents. This means that if you want to add OST file to Outlook application, you’ll need to convert your OST files to the PST format, followed by importing the converted file into Outlook. So, after looking at all the key points behind the execution of this process. Let’s delve into the discussion about how to import OST file in Outlook.
What drives the user to import OST files into Outlook?
At the professional or personal level, there may be several reasons. But the significant ones that compel the user to find the solution of how to import OST to Outlook are described below:
- Using data on another computer with a different Outlook profile.
- Restoration of mail items from backup & inaccessible OST files.
- In the downtime of the Exchange Server.
- Accessing corrupted or orphaned mailboxes of an OST file.
- Accessing deleted mailbox items from an OST file.
Where to find the OST file?
Before starting the discussion it’s important to know the location of an OST file. By default, it is in any of these locations:
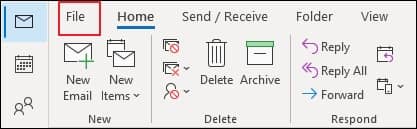
- Launch the Outlook application and go to File tab.

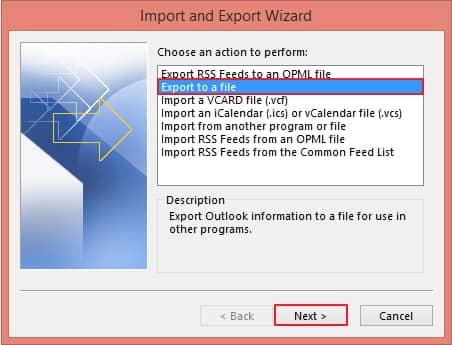
- Select Open & Export from left pane, then proceed to Import/Export option.

- A new window will pop up on the screen; choose Export to a file and press Next.
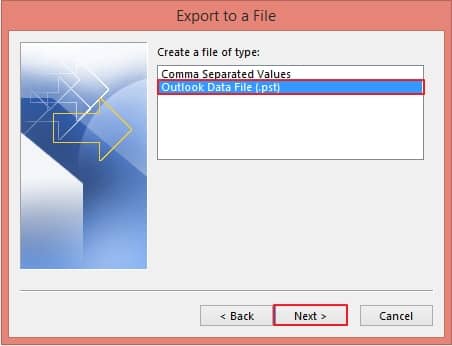
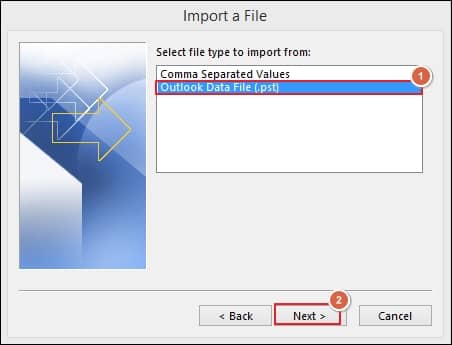
- Choose Outlook Data File (.pst) option and click Next.
- Select the folder that you need to export from the available mailbox folders, then tap on Next.
Note: You can only export a single mailbox folder at a time.

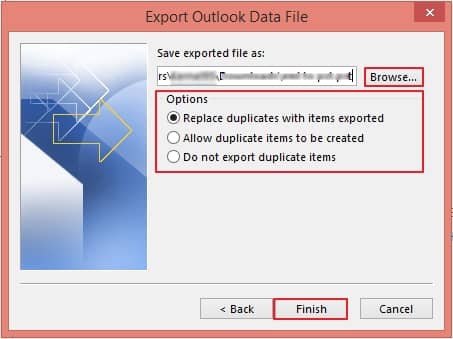
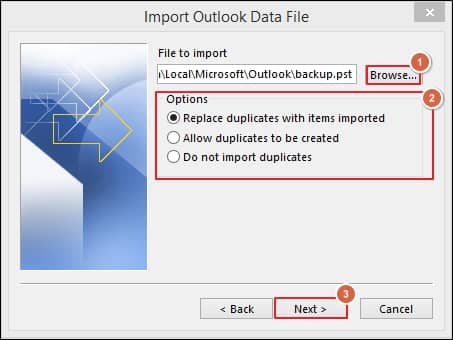
- Browse to choose your desired folder to save this file, then select Options as per your suitability and proceed to Finish.
- Go to File tab in the Outlook application and click on Options.
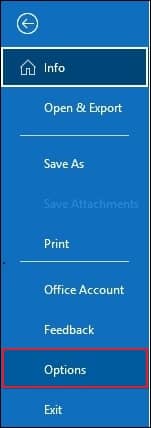
- Click on Advanced option from left pane, then proceed to AutoArchive Settings.

- Under Run AutoArchive every section, select the number of days. After reviewing the given choices, tap on the Browse to designate the folder location and tap on the OK option.

- It will automatically save your mailbox items into PST format when the scheduled period is completed.
- Launch the Outlook application & go to the File menu.
- Now, tap on the Open & Export followed by the Import/Export option.

- In the Import & Export wizard, select the Import from another program or file & click on the Next option.

- Then, select the Outlook Data File(.pst) from the next window & click on the Next option.
- Now, Browse the location & choose the given Options as per requirements, followed by the Next option.
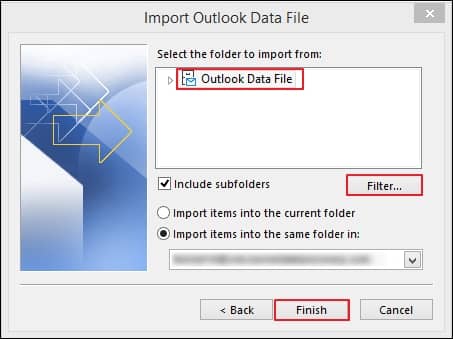
- In the next window, select the folder to import from, choose filters accordingly & click on the Finish option.
drive:\Users\username\AppData\Local\Microsoft\Outlook
OR
drive:\Documents and Settings\Application Data\Microsoft\Outlook
Alternately, you can simply trace it from the Control Panel. Open Control Panel and click on the Mail option. Go to Data Files, select the OST File, & click on the Open File Location option.
How to import OST file in Outlook via manual method?
It is not possible to import OST files into Outlook directly since Outlook supports PST or CSV files for importing & exporting operations. So, follow the given solution attentively to attach OST file to Outlook:
Part 1. Convert the OST file into PST format
To add OST file to Outlook application, you need to import that OST file. For this purpose, you have to convert OST to PST file with the help of the following solutions.
Solution 1. Utilize Import & Export feature of Outlook application
The most simple and prominent approach for users is to use the Import & Export feature to convert OST files into PST format. To do so, follow the provided instructions carefully.
Solution 2. Enable Auto Archive settings in Outlook application
Enabling Auto Archive settings in your Outlook applications is another best solution for converting your OST files into PST format. It automatically archives emails and saves them into a new PST file to your predefined location, which helps to keep your mailbox more optimized. Follow the below instructions to set up auto archive settings in your Outlook.
Part 2. Import the converted PST file into another Outlook application
Import/Export is Outlook’s built-in feature that also helps you to import the PST file in the Outlook application. So, follow the simple steps to utilize the utility:
In this way, you can execute the import OST file in Outlook process.
What is the alternate approach to import OST files into Outlook efficiently?
The manual method helps you to import OST file into Outlook, but it doesn’t guarantee your data security or integrity. To achieve the task, users should go through several steps that make the process time-consuming or complex for beginners. Also, if OST files get corrupted or damaged, then this method might not be helpful to add OST file to Outlook.
To overcome all these scenarios, it is always recommended to use an automated third-party tool like Recoveryfix OST to PST Converter. It helps users migrate the OST files to Office 365, Live Exchange, Outlook.com, Gmail, and other IMAP servers. The tool also allow users to repair corrupt or damaged OST files and convert them into different formats, including PST, EML, MSG, & many more.
Conclusion
The blog has discussed how to import OST file in Outlook by converting it into PST format & then using the Import/Export feature of Outlook. But, in case of file corruption or missing Outlook profile, this method might not be supportive to handle the importing process. Hence, considering recommended tool will be preferable in these cases as it is able to handle all OST concerns, including Outlook error code 0x80072f06 effectively.
Frequently asked questions
Q.1 How do I open an OST file in a different Outlook account?
Ans. To open an OST file in a different Outlook account, there is only one manual solution: first, convert the OST file to PST through the Import/Export feature, then import the converted file in Outlook using the same feature.
Q.2 Is there any direct approach to open the OST file?
Ans. No, you cannot manually open an OST file directly in a different Outlook account. However, using an advanced OST converter tool can provide you with the leverage to avoid these circumstances and gain instant accessibility.
Q.3 Can manual methods help to import contacts from OST files?
Ans. Yes, you can extract your contacts from an OST file manually. However, using an advanced tool simplifies the process and ensures security.