How It Works - Recoveryfix for Excel
How It Works?
Recoveryfix for Excel is a friendly tool to recover data from corrupt Excel file. It can efficiently repair Excel file (both XLS and XLSX) and simultaneously retrieve the data without making any changes its properties.
Recoveryfix for Excel offers the flexibility to recover single as well as multiple Excel files, according to the user requirement.
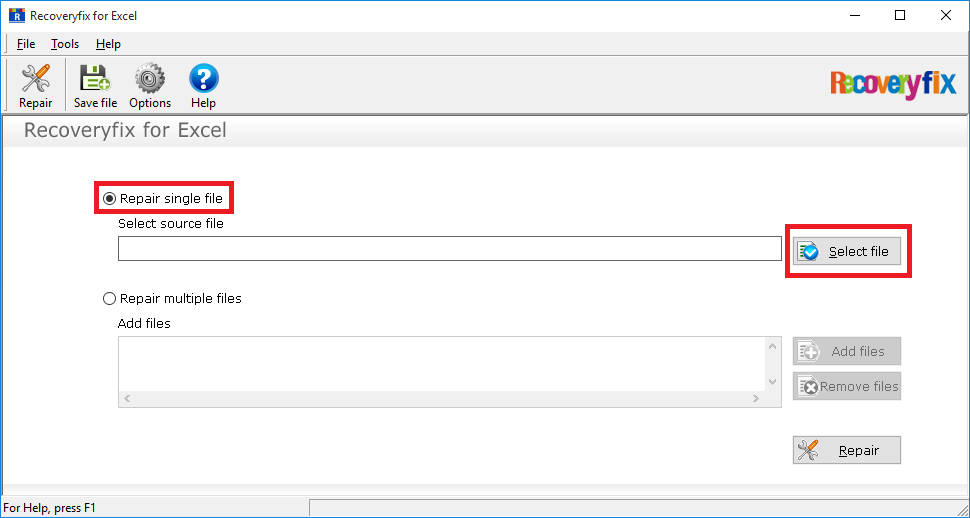
[A] To repair single file, select "Repair single file" and provide the source location.
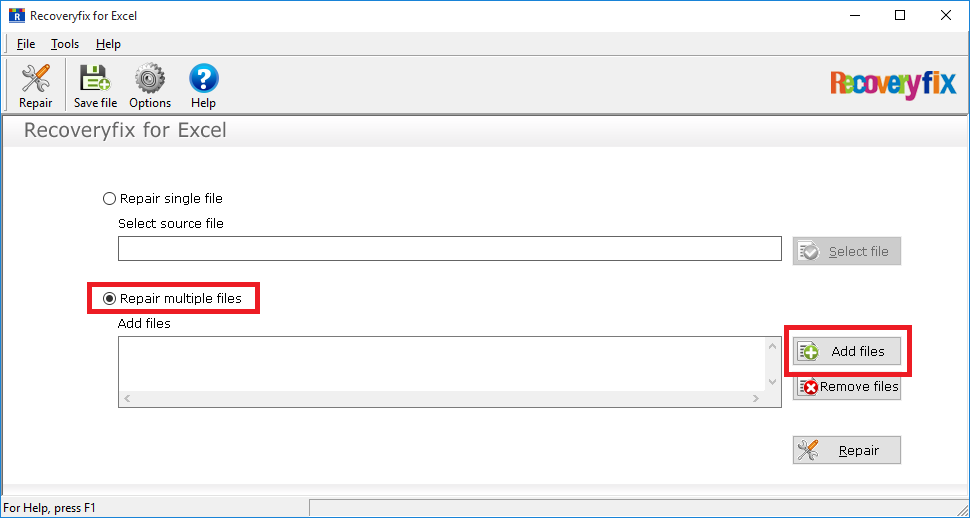
[B] To repair multiple files simultaneously, select "Repair multiple files" and use "Add files" button to add as many files as you want.
Step 1: Select the corrupt Excel file
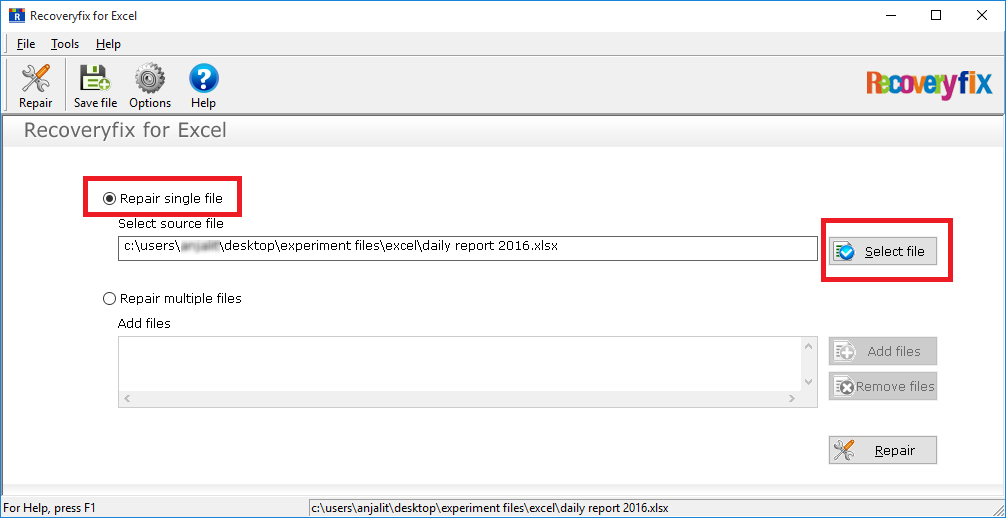
To repair single file, select "repair single file" button and select file option to browse the Excel file.
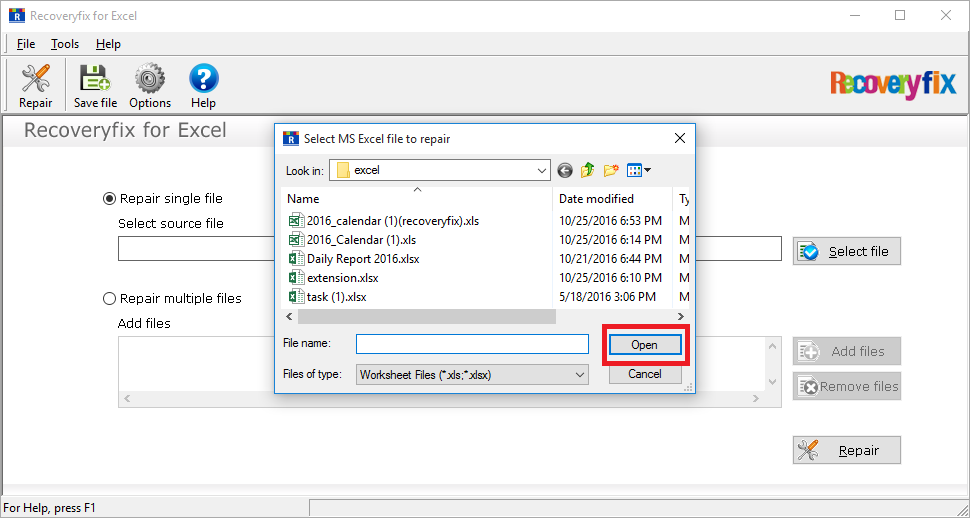
Open the location and select the file and click open to use it.
Step 2: Scan and repair Excel file
Select "Repair" button to scan the corrupt Excel file.
The tool then starts repairing the corrupt Excel file.

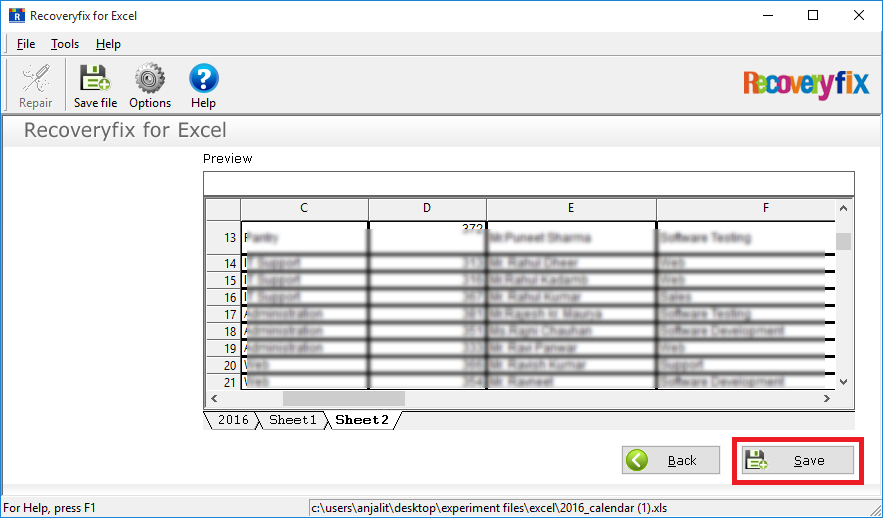
Step 3: Preview the data
Upon recovering the file, the tool displays the preview of total recovered data contained in the file. The user can immediately read the data without having MS Excel program. All the available worksheets can be easily accessed within the same preview pane.
The data is presented in its original format and structure, while retaining its actual properties. You can also switch from one tab to another to preview the data of any selected worksheet.

Step 4: Save the recovered file
Select "save" button to save the previewed Excel file as it is to your specified location.
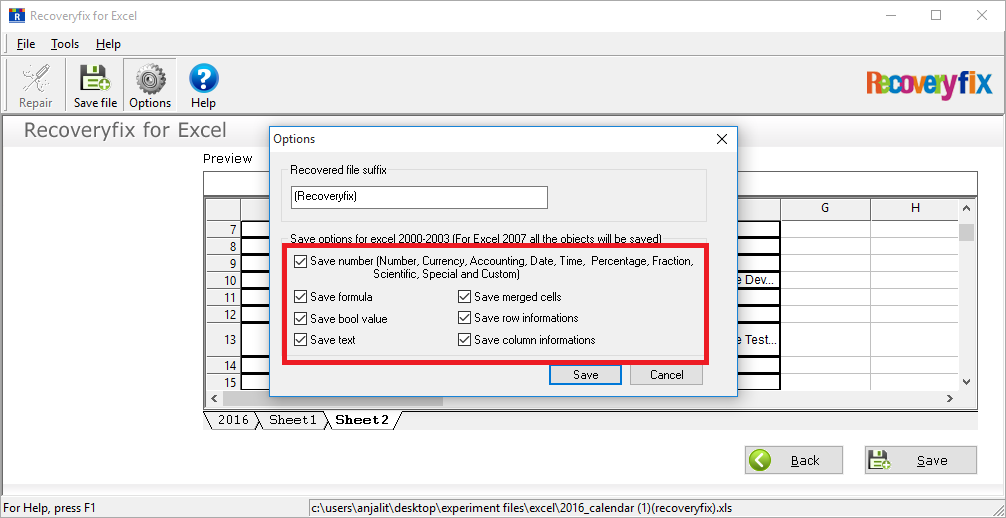
If you are using Excel 2003-2003, then you can manually specify the given objects (Save formulas, save row information etc.) by checking the boxes. However, for later versions, everything is saved automatically.
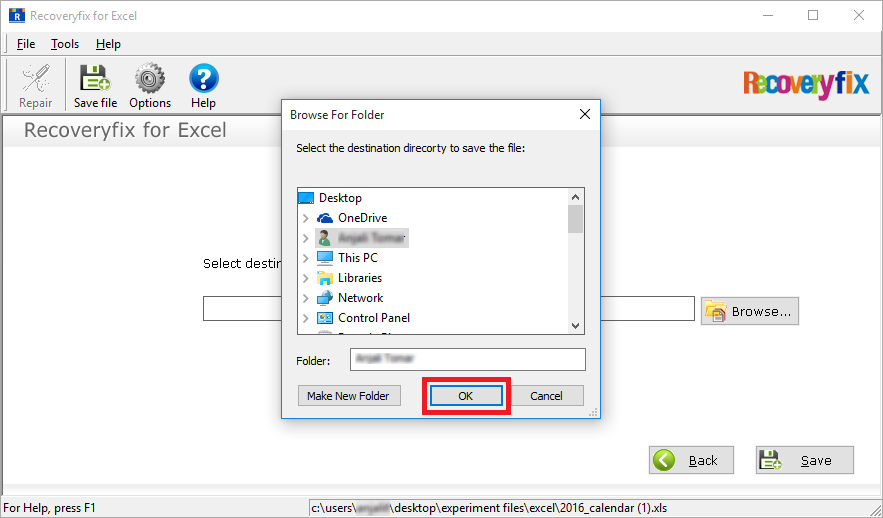
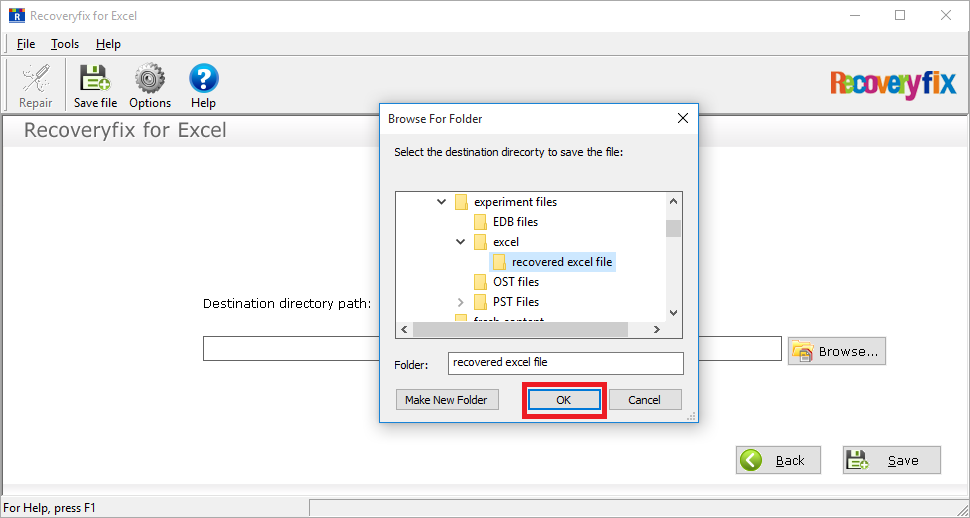
Select browse option to provide the desired location. Click "OK".
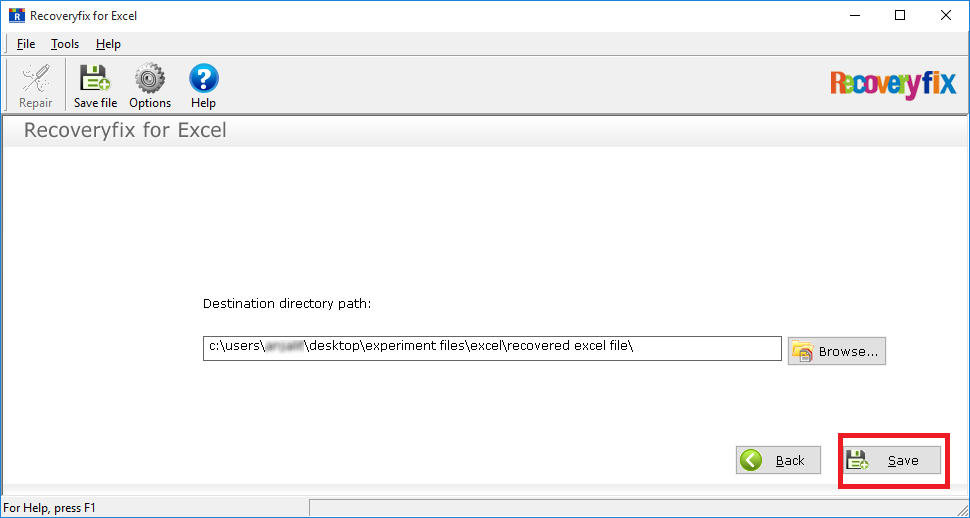
Once again you can verify the path and hit save button to restore the file.
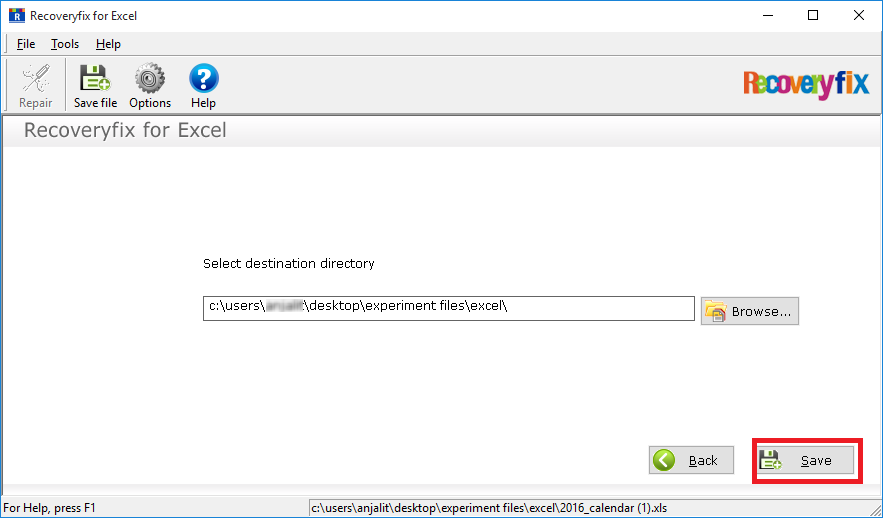
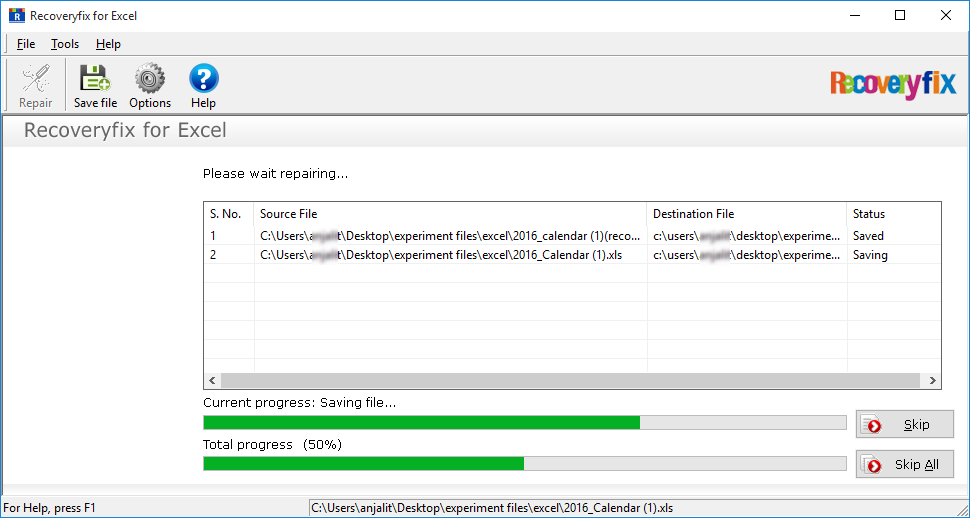
The total files are then being saved to the user-specified locations.
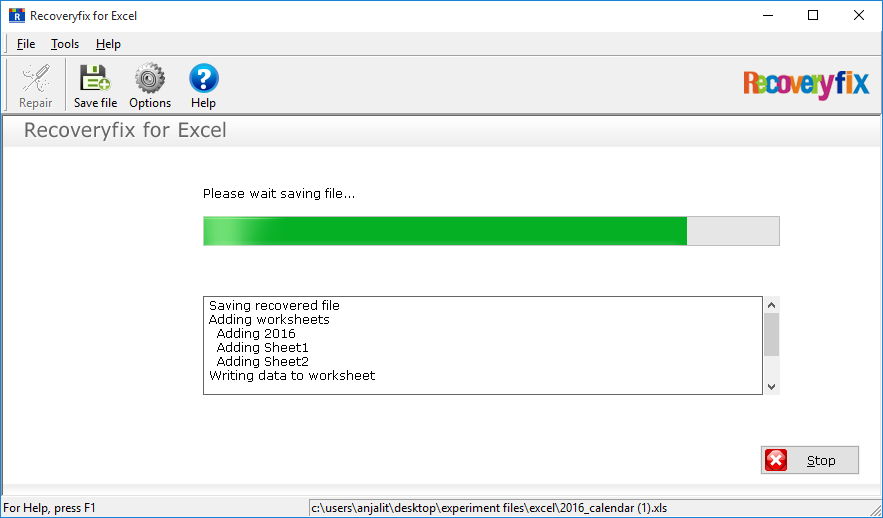
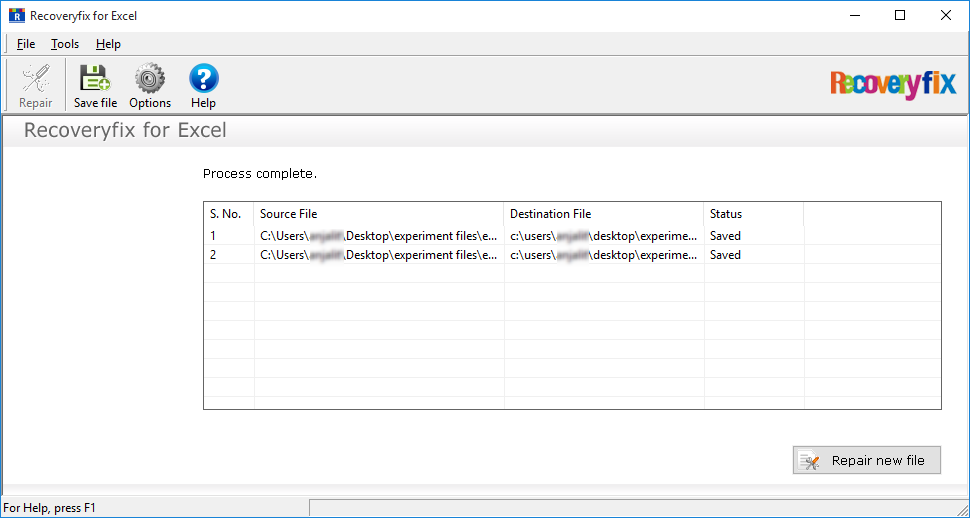
When the total data is restored, the tool shows a successful notification along with the address of the saved location.

Step 1: Adding multiple Excel files
Select "Repair multiple files" option and use "Add files" button to add as many as files as you want.
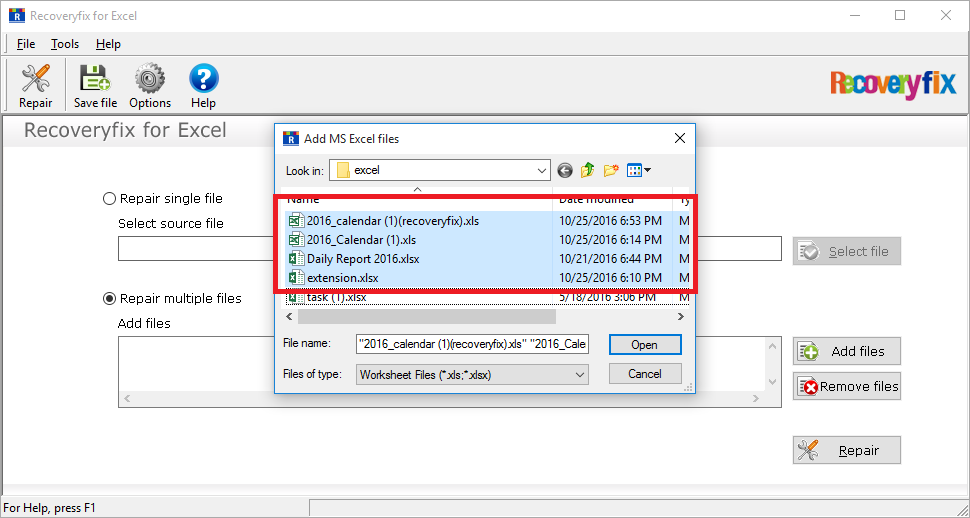
Adding multiple files simultaneously using (Ctrl + mouse click) at once, or add them using add files option.
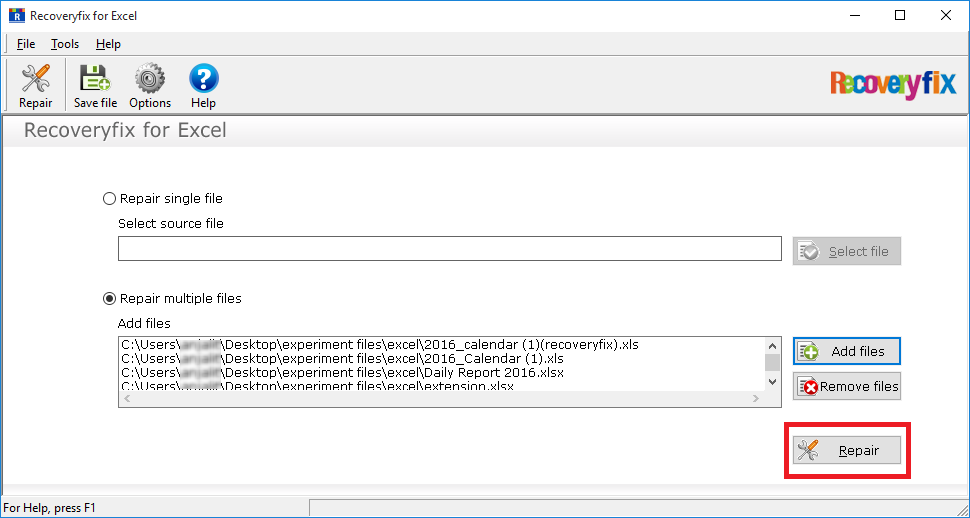
Step 2: Repair corrupt Excel files
Click "Repair" button to let the tool automatically scan and repair Excel files.
Step 3: Save Excel file
Use the browse option to specify the location wherein you want save the recovered file.
To repair the corrupt files, click save option.
The tool automatically fixes the Excel file problems during the recovery phase.
Once the Excel files are recovered, then they are saved to the user-specified location. The tool also acknowledges the user with the "Process complete" notification.